Salynne's Emperor's Children Vehicles: Part 2
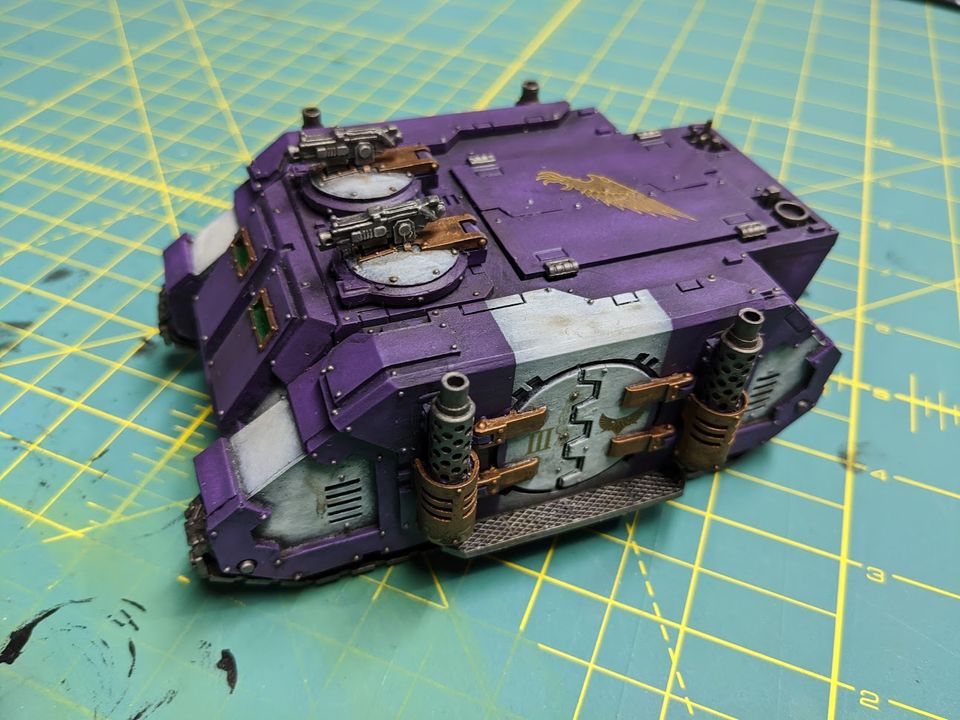
Welcome to part 2, where I do the details and weathering for my Emperor's Children scheme. If you haven't already checked out part one, it's here.
First up, Leadbelcher. I love this color, there is a reason everyone uses it. It just looks good. I use a Broken Toad #2 that I beat up the bristles pretty badly painting a 28mm titan on. It still holds enough of a point for base coating and blocking in colors. It's cut in half because I kept hitting the back of the brush on the other titans leg while cutting in trim around its toes. I like to try to use good brushes that have been cycled out of precision use for base coating and metallics. This brush is my go-to for blocking in metallics, that way I don't ruin my other nice brushes with mica flakes.
I work my way around the model and carefully block in the color where I want it to be steel. For rivets I like to keep the paint relatively thick. I find that always thinning your paint consistency is somewhat of a trap. Thicker paint is great for blocking in a color and especially for painting small details. When it's too thin, you lose some precision. The real thing you want to avoid is thick application, not thick paint. The rivets tend to just be one dot of thickish paint each, and done. I'll only second coat a few that don't quite work out the first time.
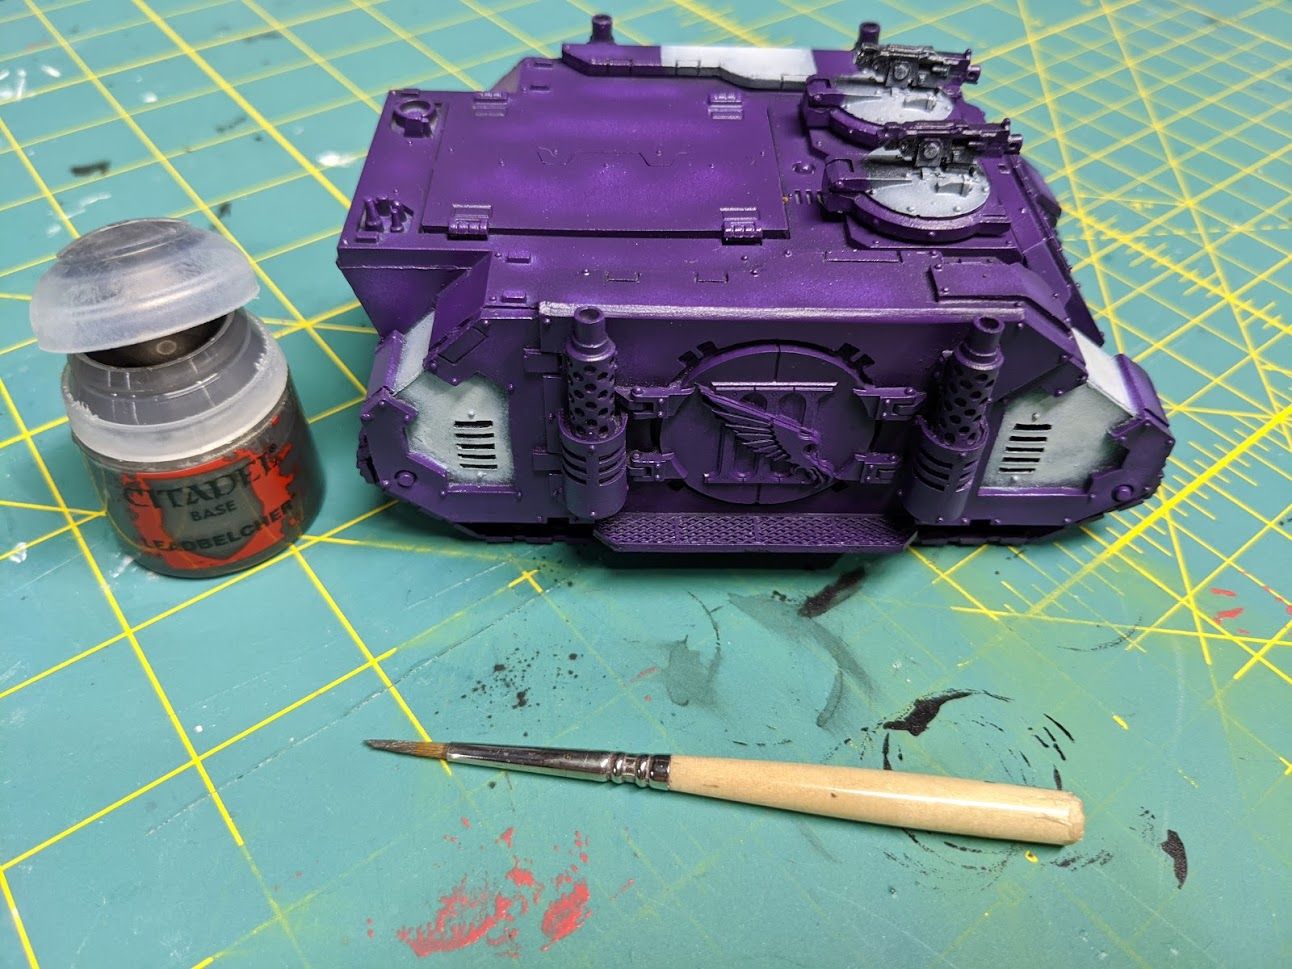
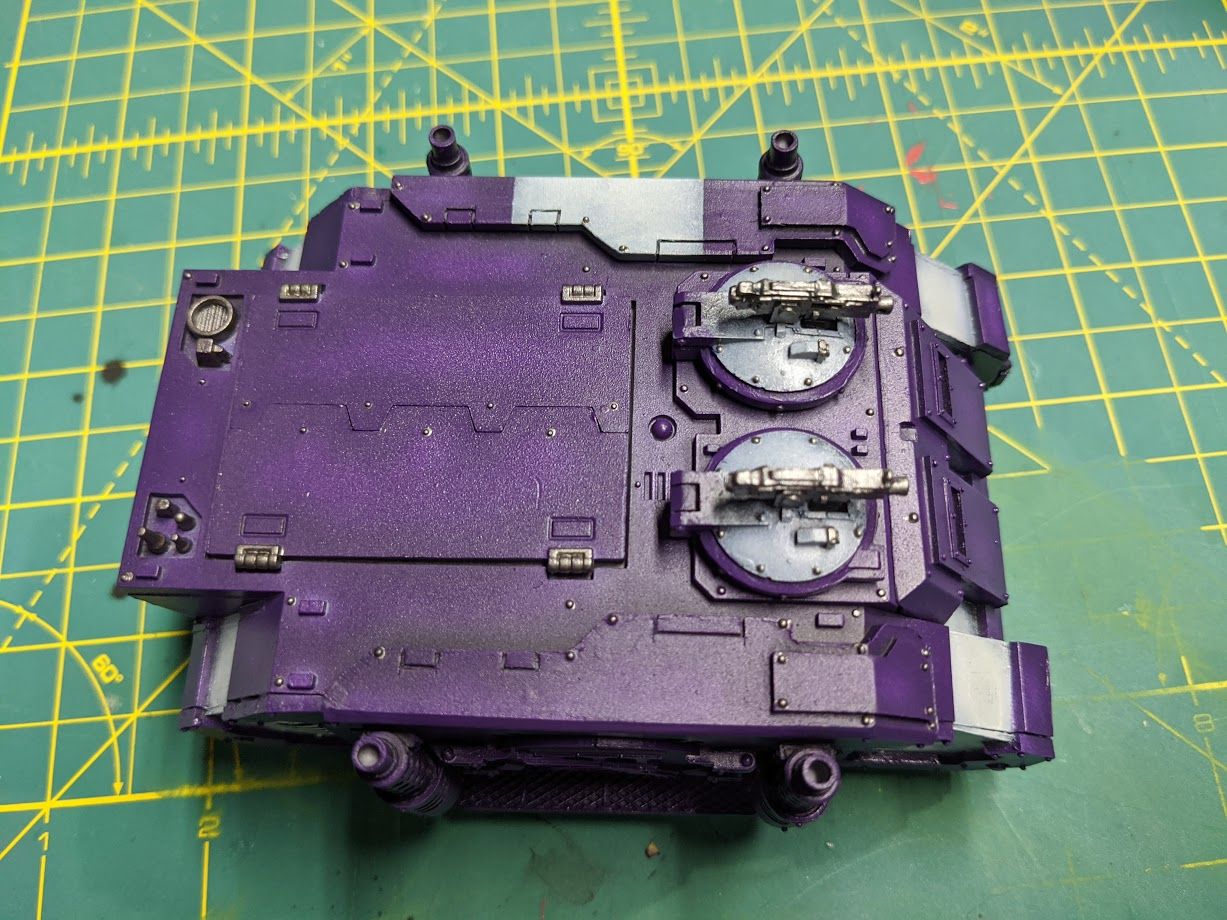
For larger areas like the bolters, treads, and vents, I do thin the paint and do about 2 to 3 coats. It's important here because now you are trying to get a large flat area to have a smooth texture. Let the paint completely dry between layers. You can go a little thicker with the top coat after you've let a nice thin layer settle into the grooves.
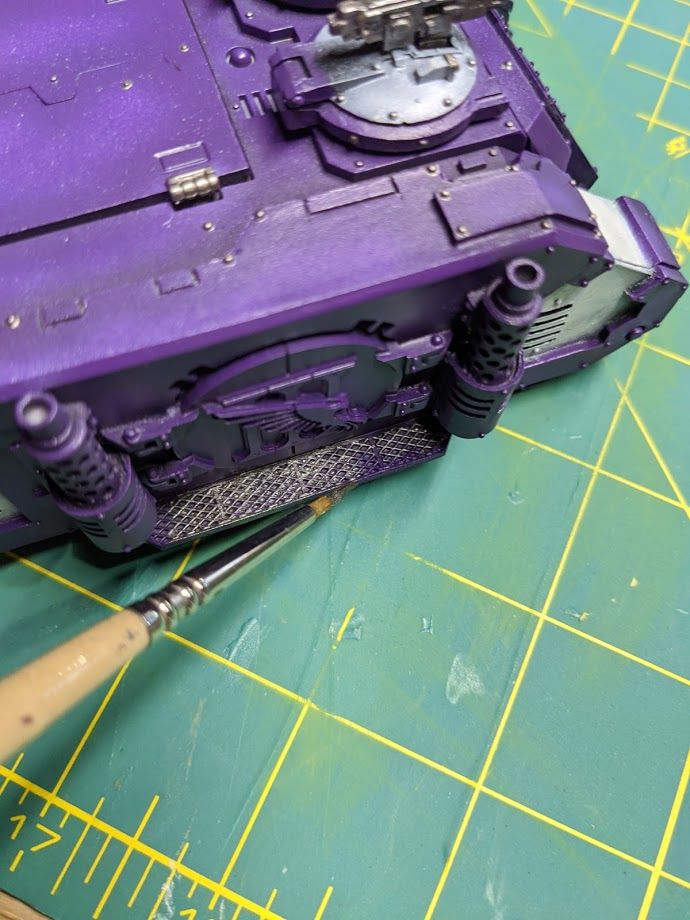
If you're working on a resin vehicle you most likely have lost rivets on it somewhere. This happens when scraping mold lines too aggressively or due to a miscast quite frequently. Rather than go through the agony of attempting to sculpt them back on, I like to just paint a silver dot where it was. If you wanted to go a step further you could put a dot of black first and then a smaller silver dot. This would give the illusion that there is a hole where a rivet is missing. Personally I don't go that far as likely no one but me will ever count the rivets on a model.
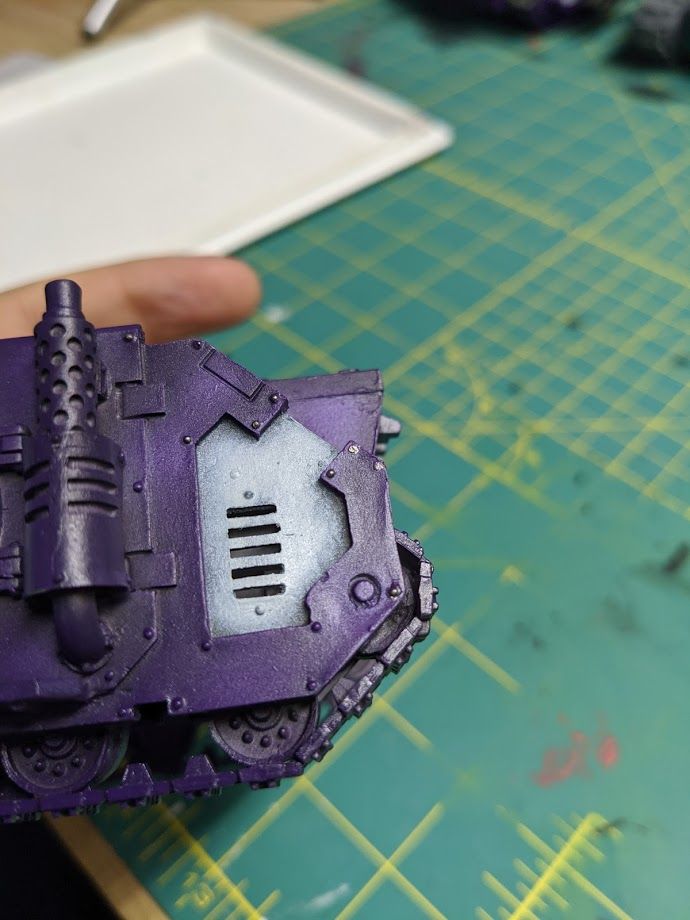
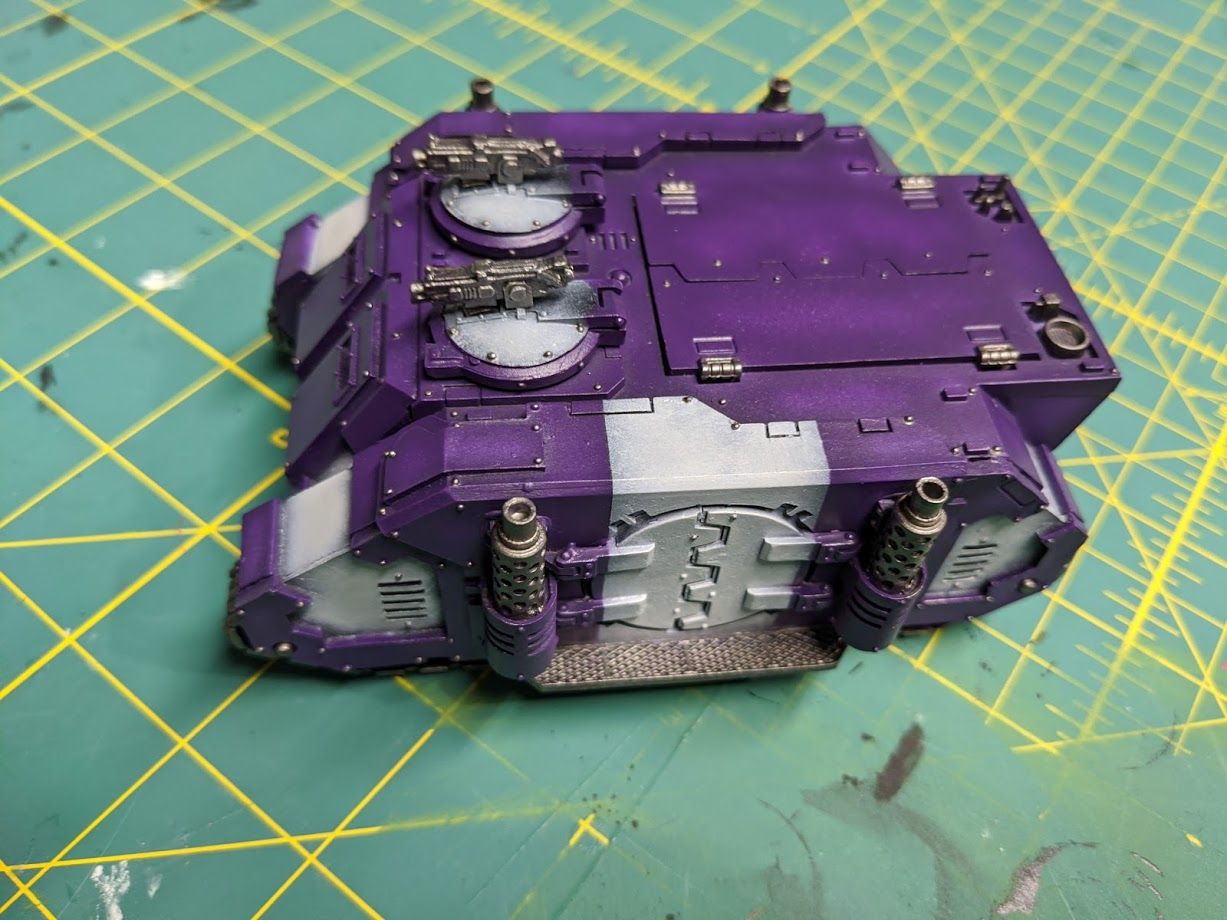
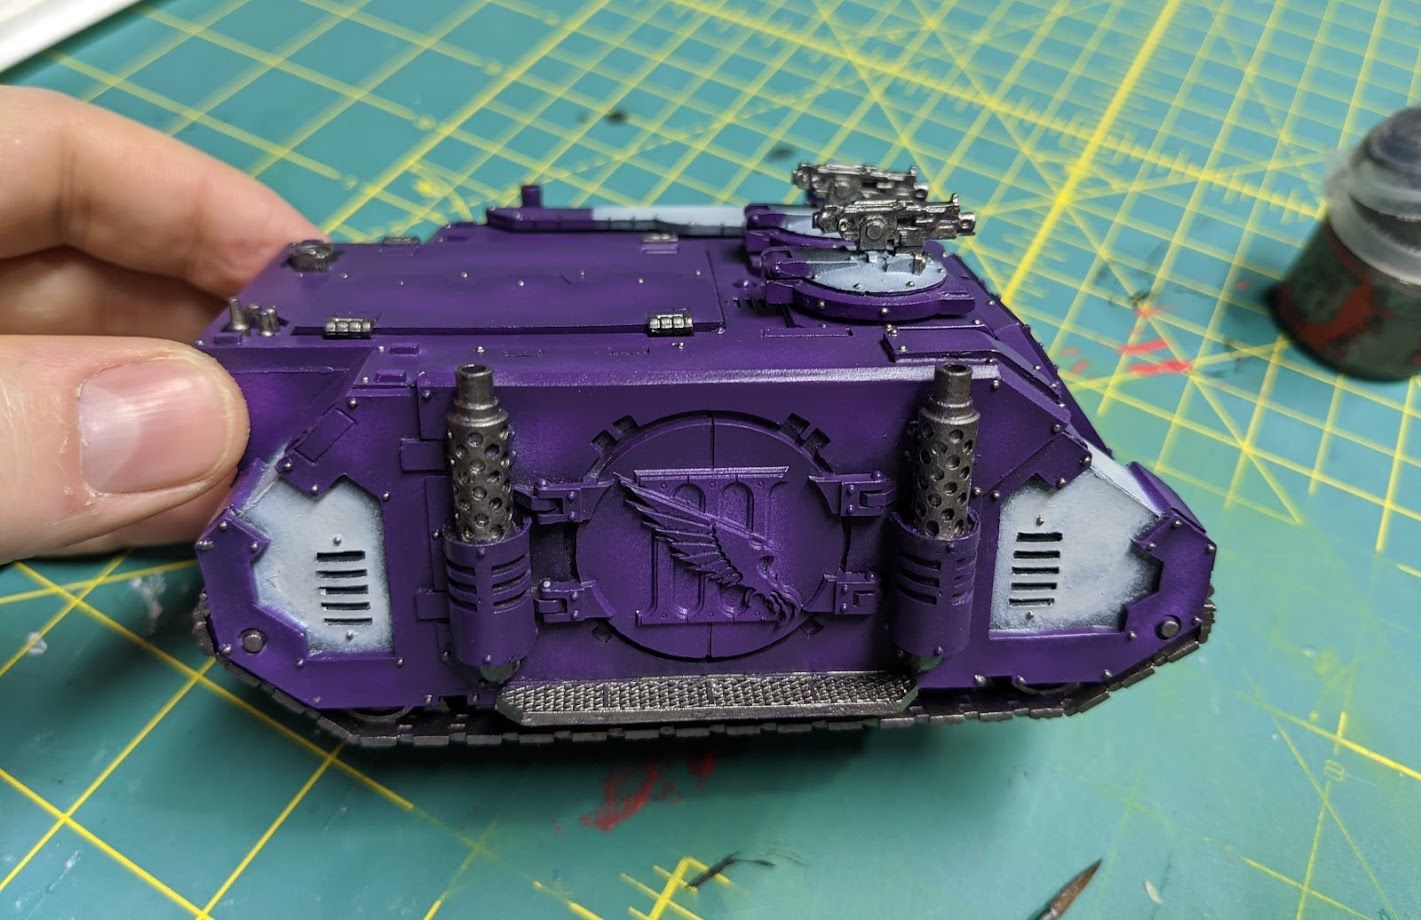
And with that, all the steel color is blocked in. Next we move on to the gold color. My favorite gold color and the one I use for this army is Balthasar Gold. I just really love the brassy color rather than a pure gold.
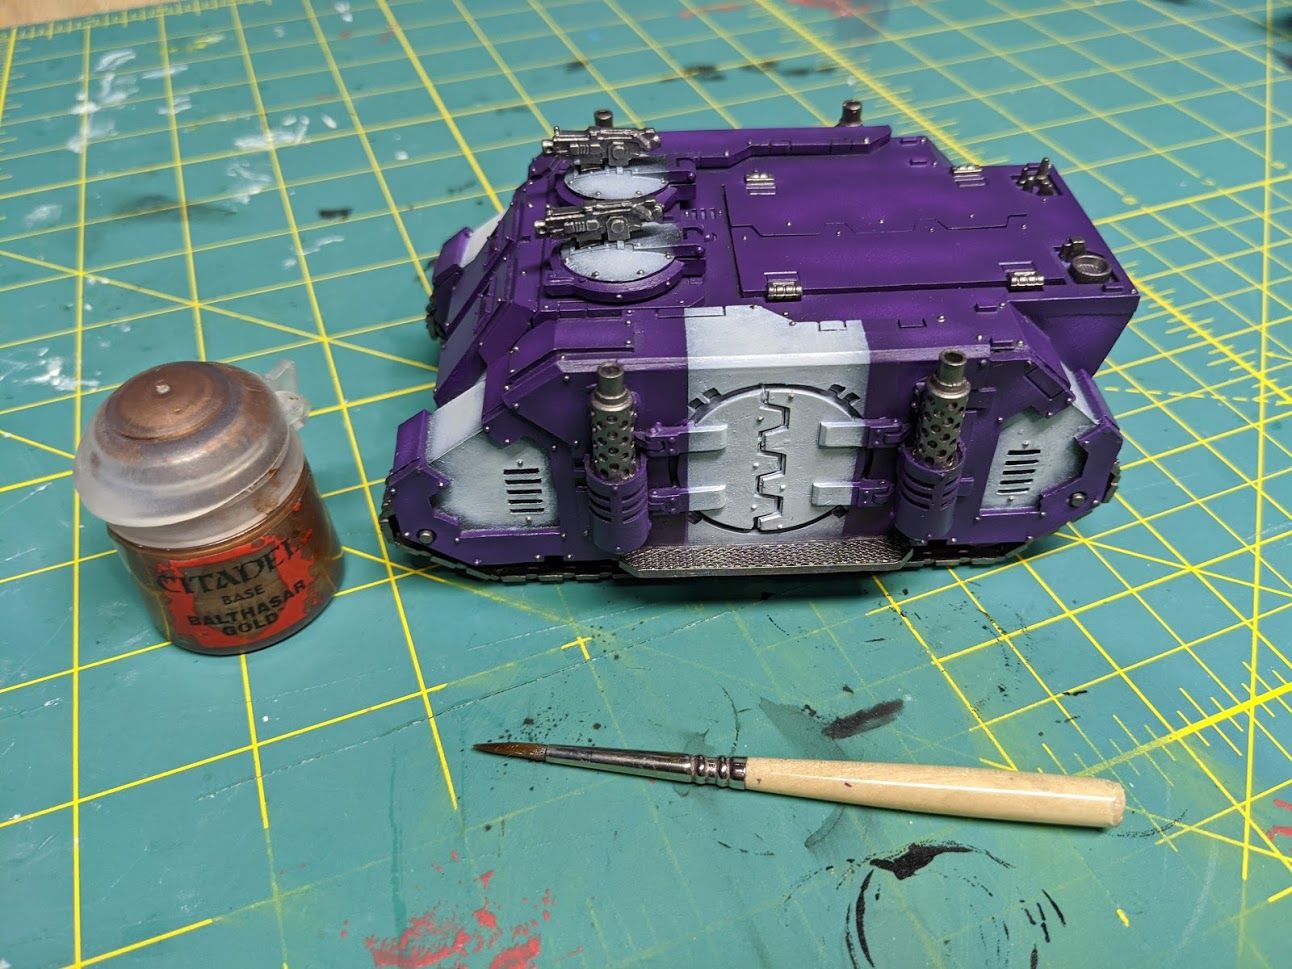
Again I'm just working my way around the model and blocking in all the gold areas. For gold I find it is important to thin now. It will take up to three coats over top of the white to keep a smooth consistent coat. There isn't much to add technique wise at this point but I've included progress photos for completeness. Be nice and neat cutting in the edges. If you do make a bad mistake you can use some rubbing alcohol to clean the gold off the gloss varnished areas. Just let it dry and try again.
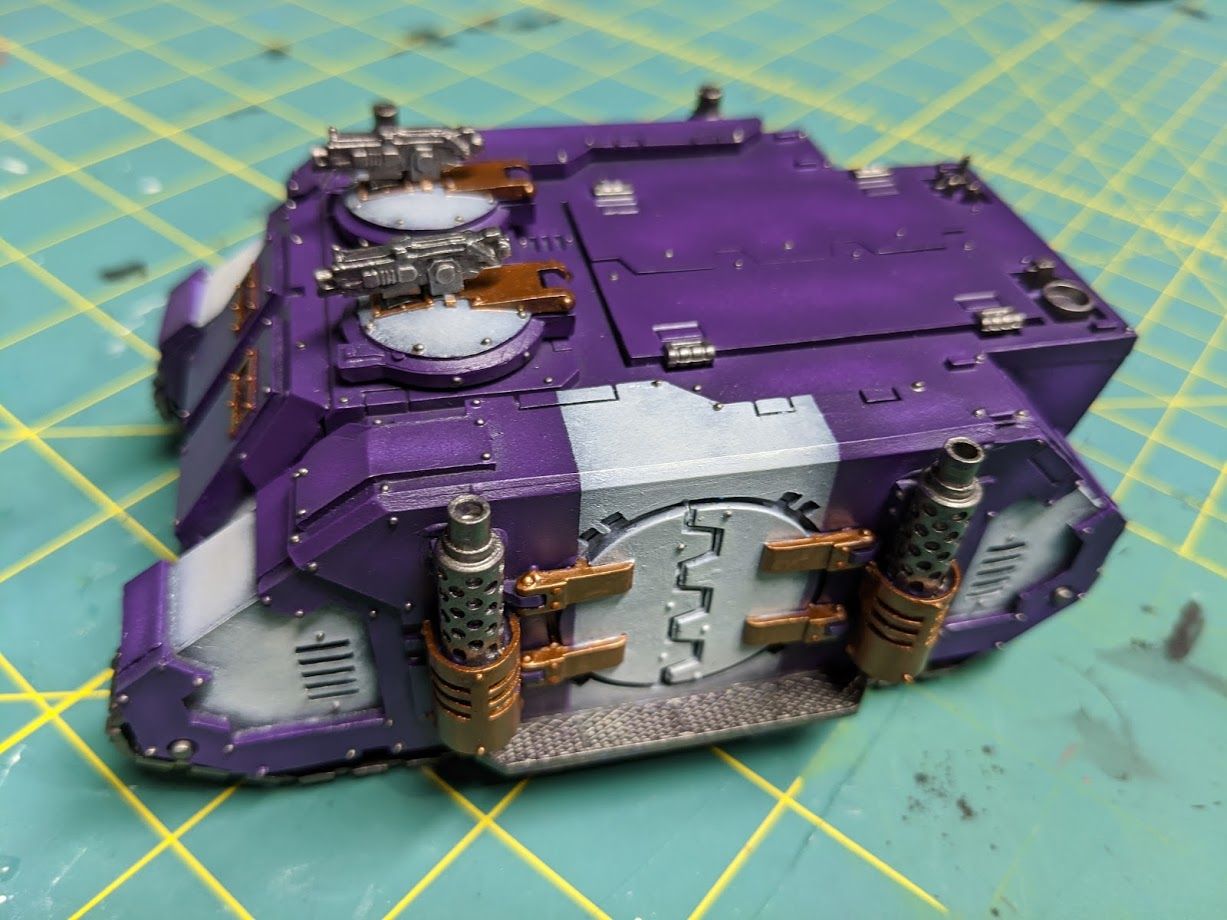
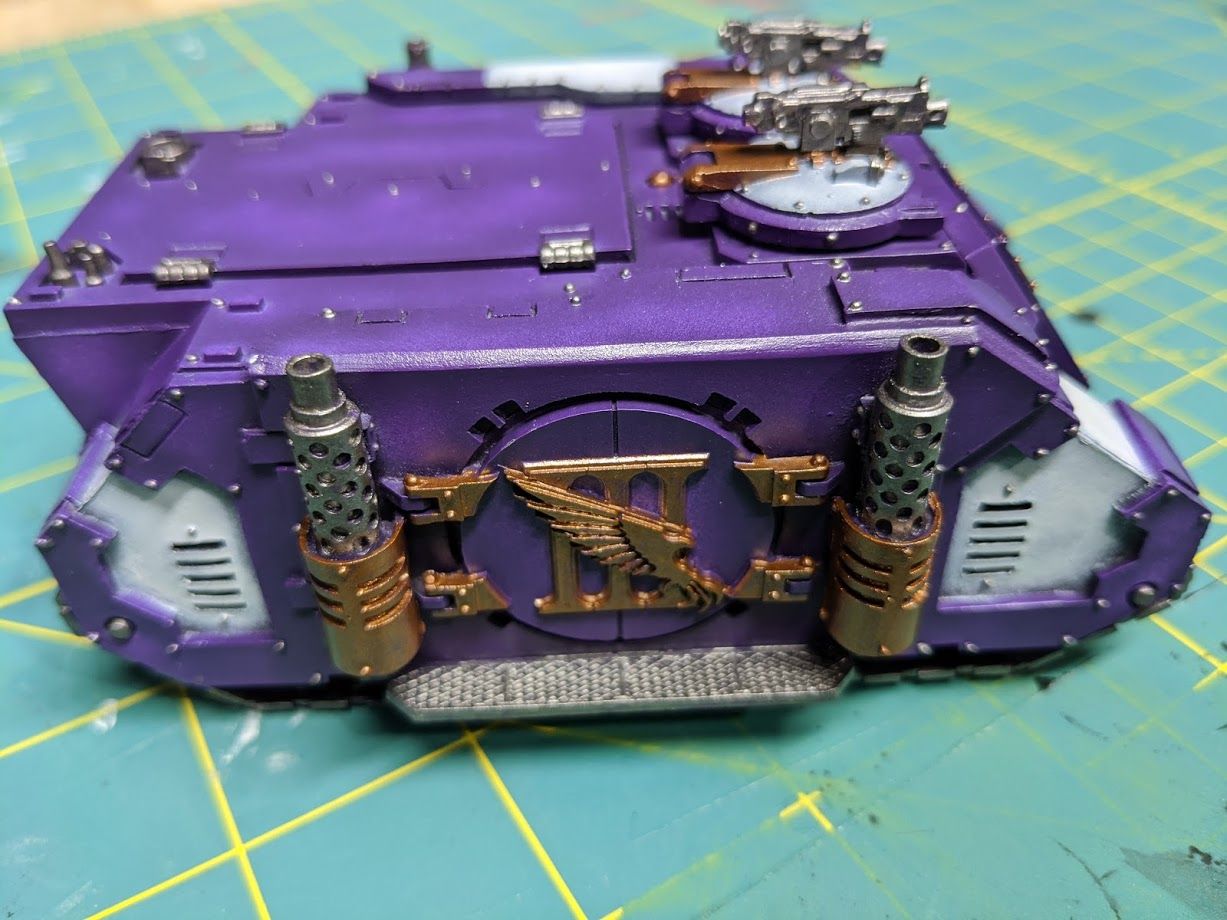
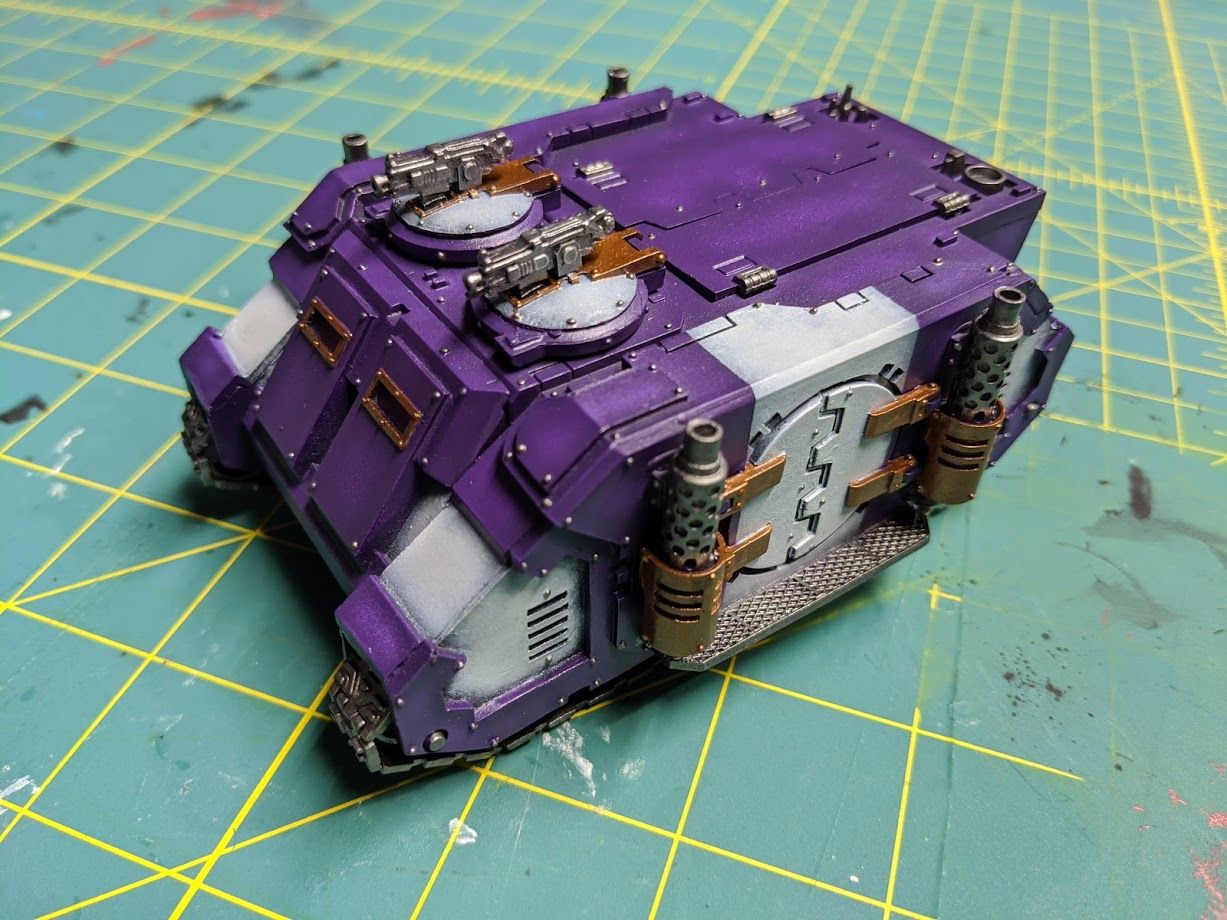
All the gold color is finished and I move on to decals next. I start by cutting out some decals from my sheet and mocking where I will put them on the model. I want to be sure there is actually room on the model and that it is aesthetically pleasing placements.
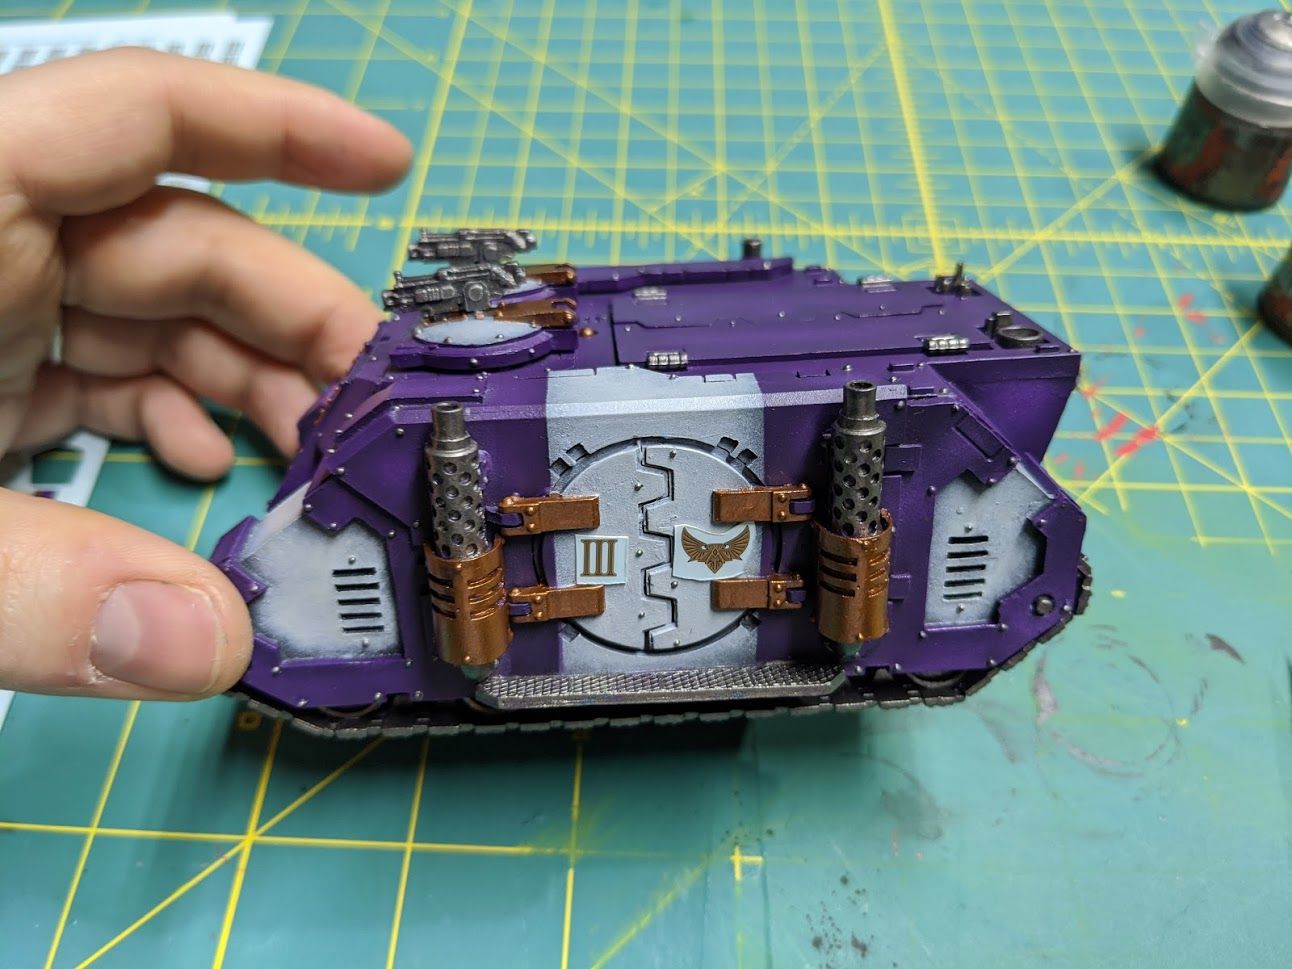
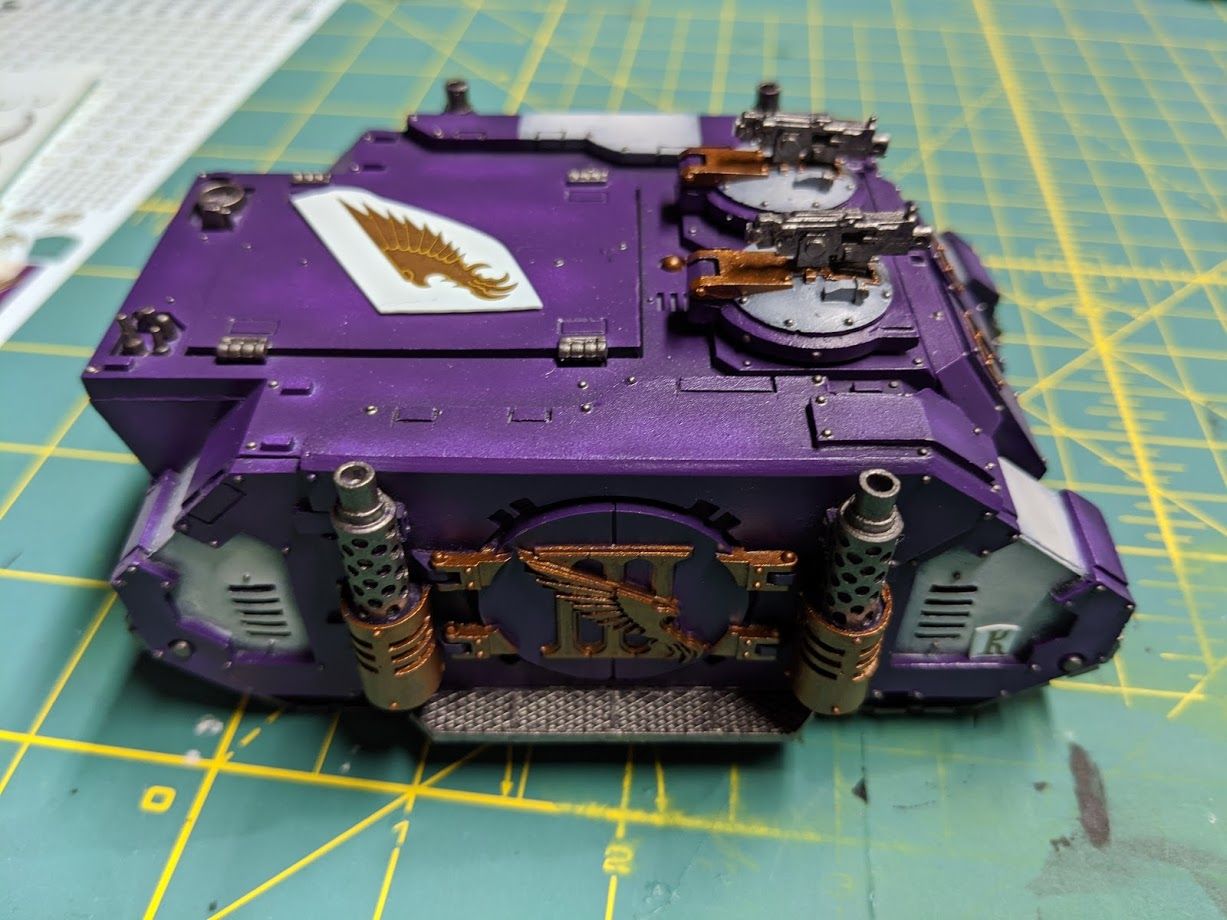
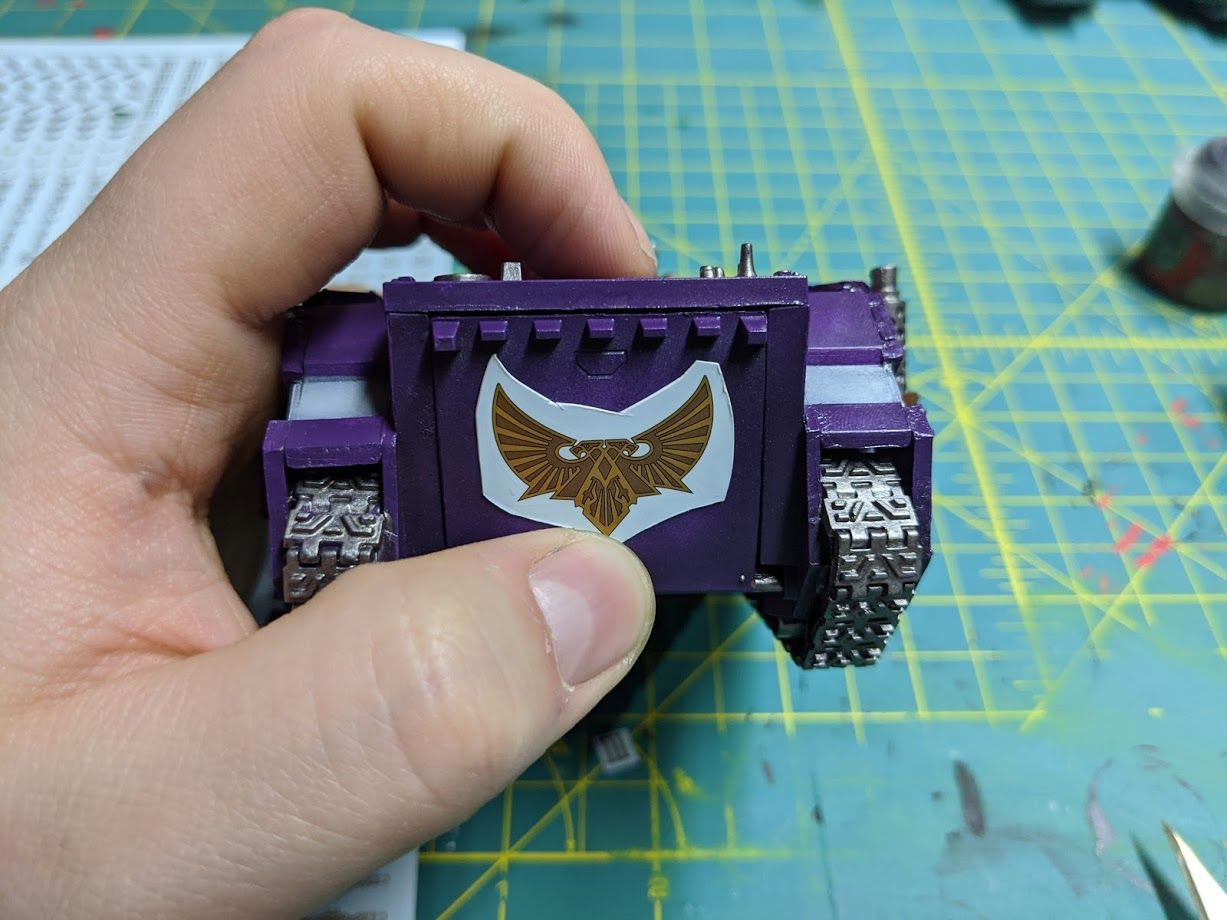
Once I'm satisfied with the placement I get all my tools ready for the job. I use a fresh blade again here. The one that is still fresh from Part 1 will do as I haven't really cut anything with it yet except tape and cutting out decals. I'm also a fan of Microset and Microsol for decals. I use a plastic measuring cup that I trimmed into a dish for my decal water but you are welcome to use whatever. I have in the past used an upside down miniature base for small decals.
You'll also want a brush that you use for wet, and a brush that you use for dry. I am using my Broken Toad #2 again for the wet application and a makeup brush again for the dry. Not pictured is a microfiber towel to prevent getting lint on the model. I tried using a paper tissue and got fibers all over the model and had to carefully clean it all off.
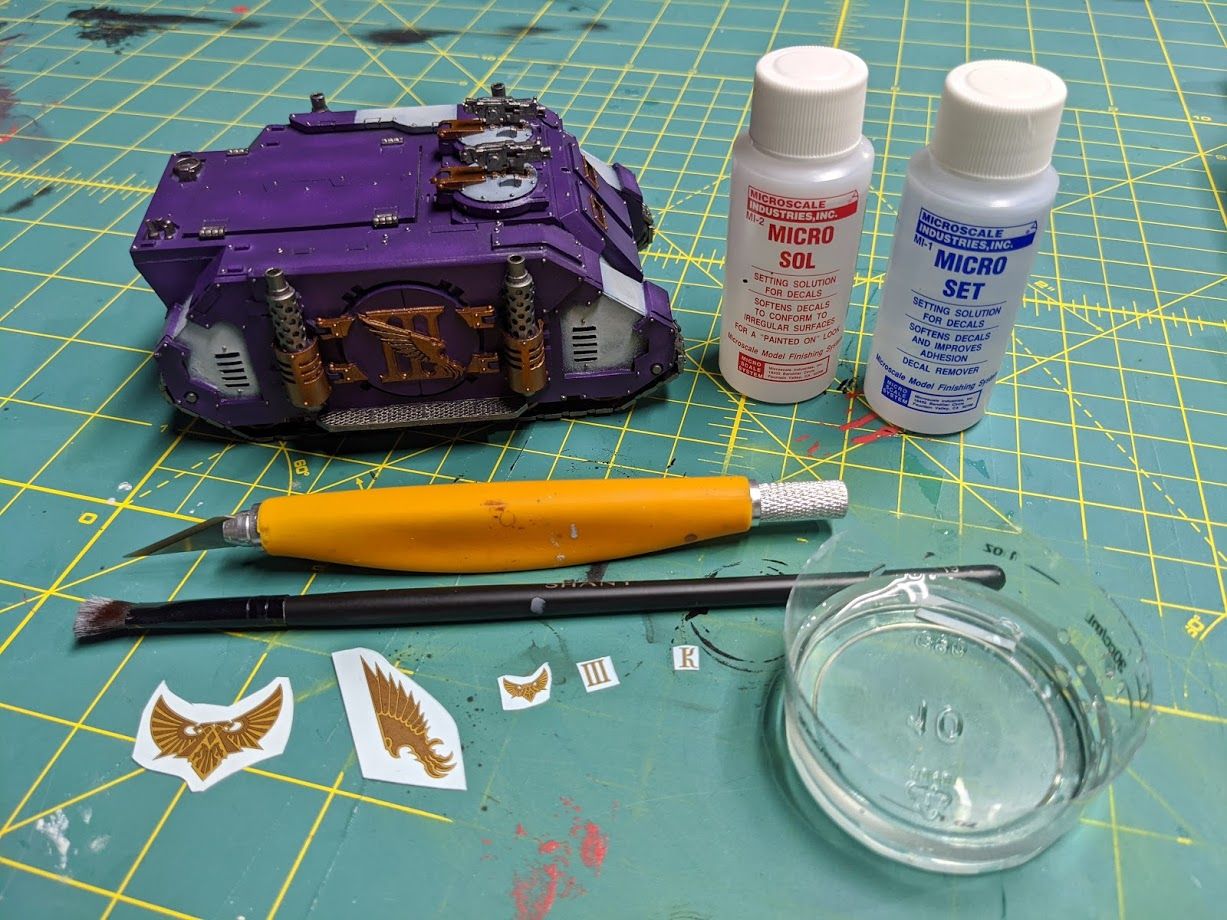
Soak your decals one at a time. I'm using a mix of decals from the discontinued Emperor's Children legion transfer sheet as well as the new one. The consistency of these decals is very different, and so is the consistency to Games Workshop decals. This is likely due to the constant production issues their company has had over the years with getting transfer sheets made. You will want to find out the properties of your sheet by keeping a close eye on the decal as it sits in the water.
For my old sheet I find it takes four or five minutes at least to get the decal to separate from the paper. For my new sheet it's less than a minute. In either case the decal is only ready when it has almost or completely separated from the paper. If you pull the decal too early from the water by peeling it from the paper yourself you risk tearing the decal. The decal will also wrinkle up on you a lot more as the water saturation on the outside of the decal will be greater than the underside. This difference in moisture causes it to warp. If it's curling up on you aggressively it probably hasn't soaked enough.
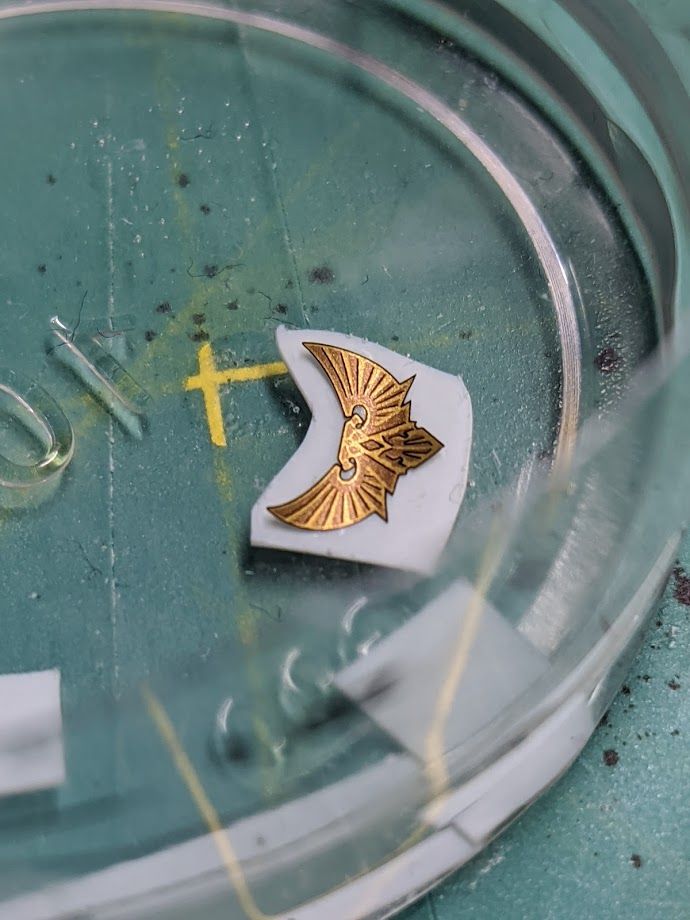
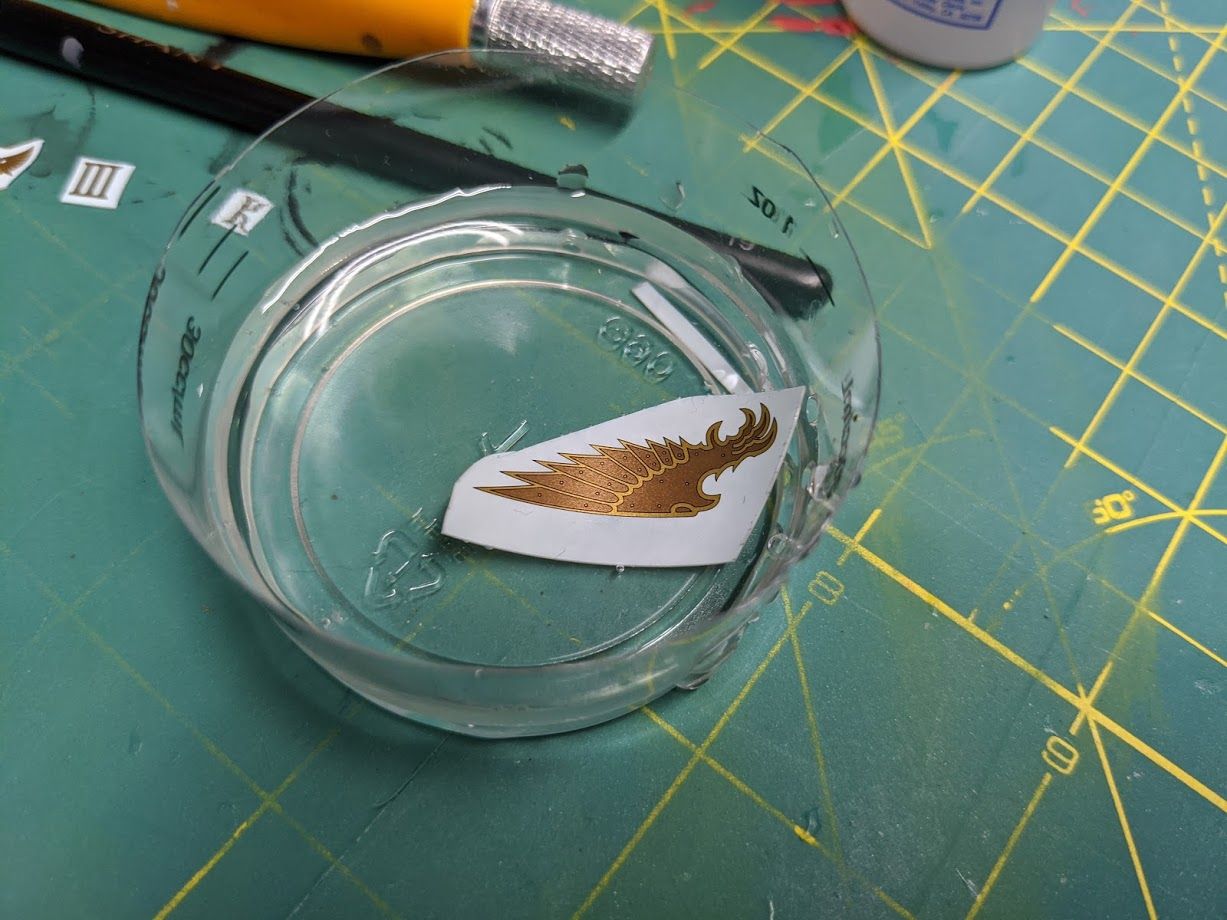
While you wait for the decal to soak, you should take your Microset and apply a thin layer to the area the decal will go.
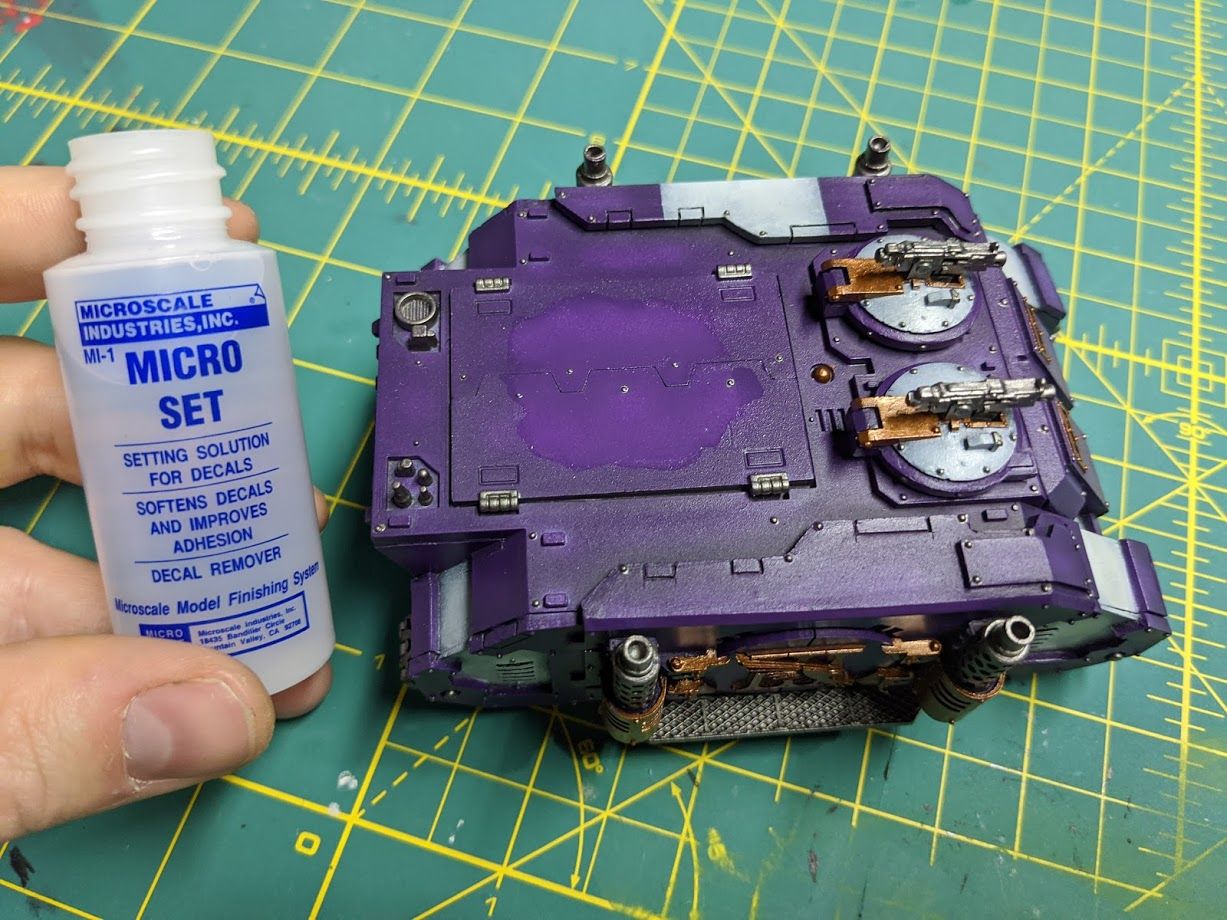
You may notice while working decals into the model that your model discolors. This should be your gloss varnish being eaten away at by the Microset/Microsol. This is normal, and one of the main reasons there is a gloss varnish step in the middle of painting a vehicle. It's better that it's the varnish and not the paint under it being distorted. When we're all finished this will go away with new varnish layers. If you skipped Part 1 and are just reading this for decals, make sure you have a gloss coat under your decal areas.
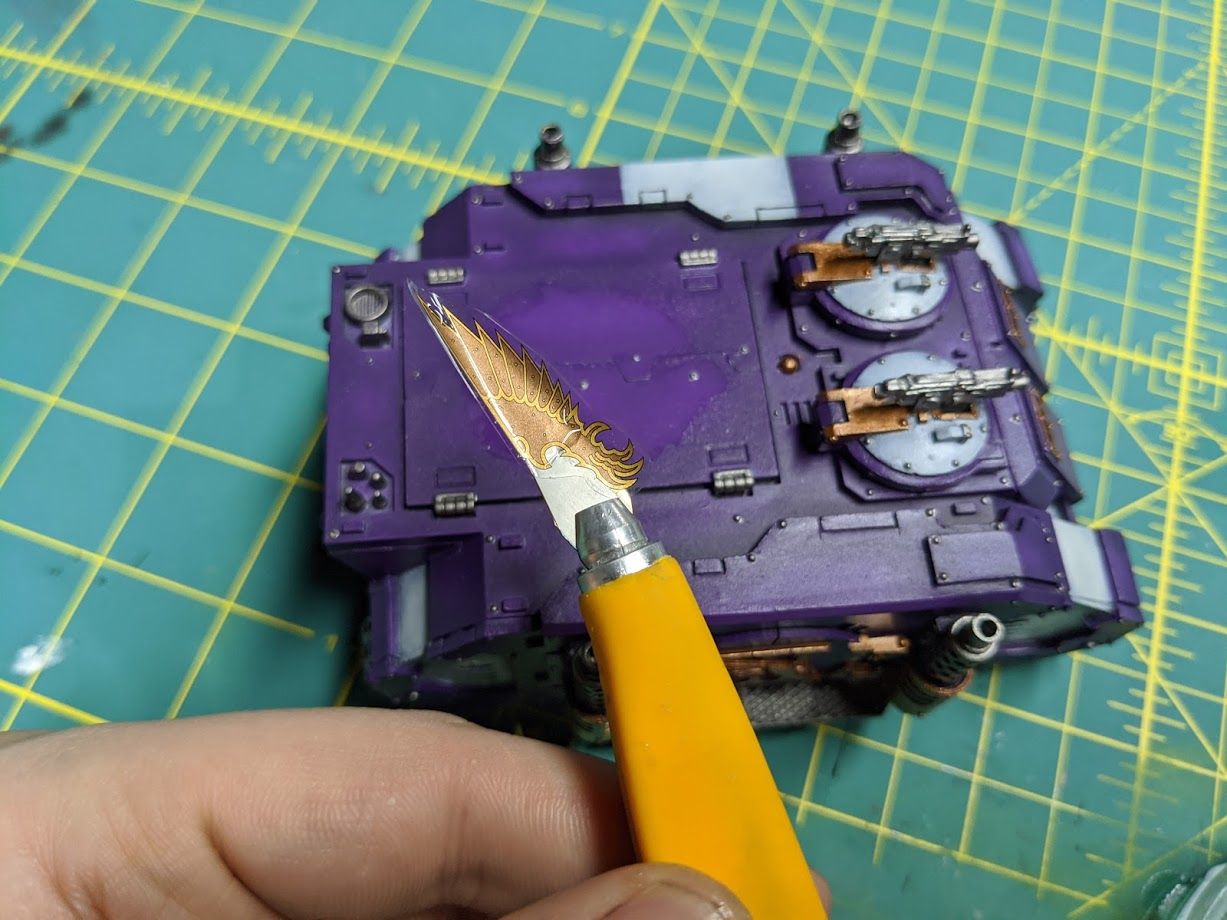
When the decal is ready, scoop it with your knife blade similarly to the taping method. Get it close to the model and slide it off with your finger or the dry brush.
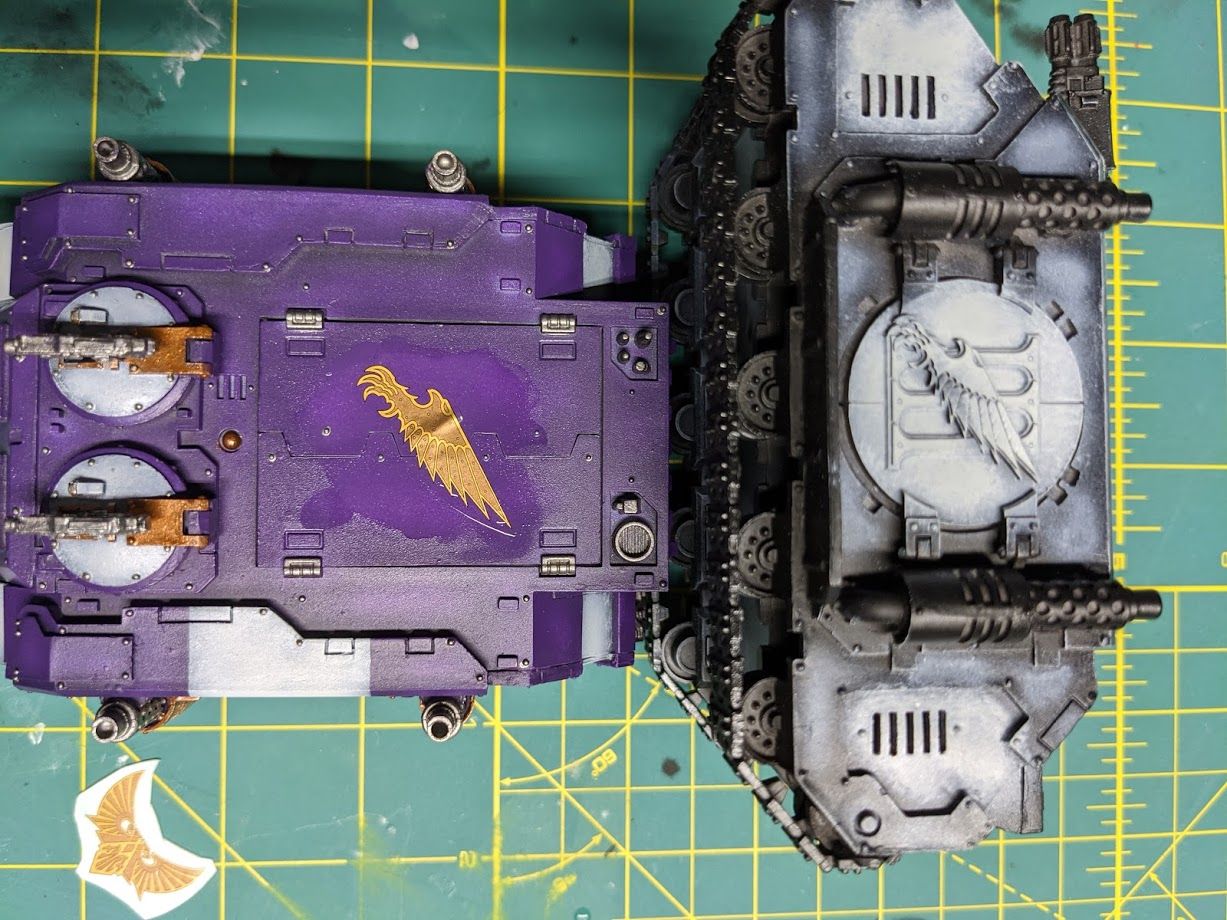
At this point you can move the decal around as it will have brought a lot of water with it from the dish. I used the rhino I'm painting next as a guide to adjust the angle of the decal. I want the eagle to be roughly at the angle that it is on the sculpted iconography.
Once your decal is in place you can dab off the decal with your microfiber towel to remove all the excess water. There isn't much of a way to speed up the process of fixing a decal to the surface of a model. I've tried with a hair dryer in the past and it only ended in misery. Dry as much as you can with the towel and then wait. During this waiting period you can work your way around the rest of the model applying more decals. Be very careful not to touch the ones you've already done while they are drying.
You can use the dry brush to stipple down any bubbles or wrinkles but be careful you don't move the decal out of its position. When the decal on the top hatch was partially dry I carefully sliced the rivet in the center of the decal until it popped through.
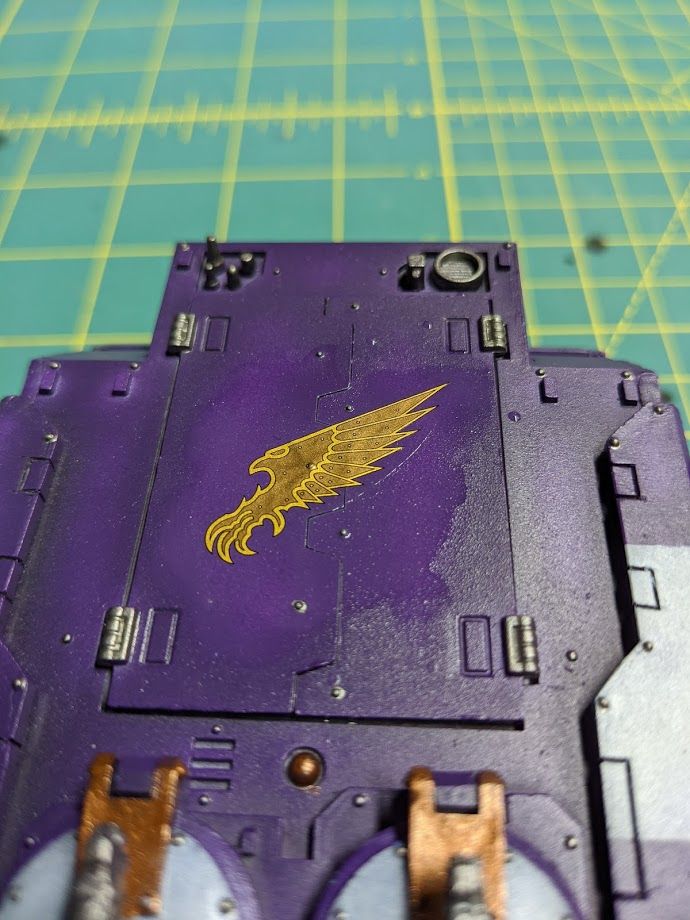
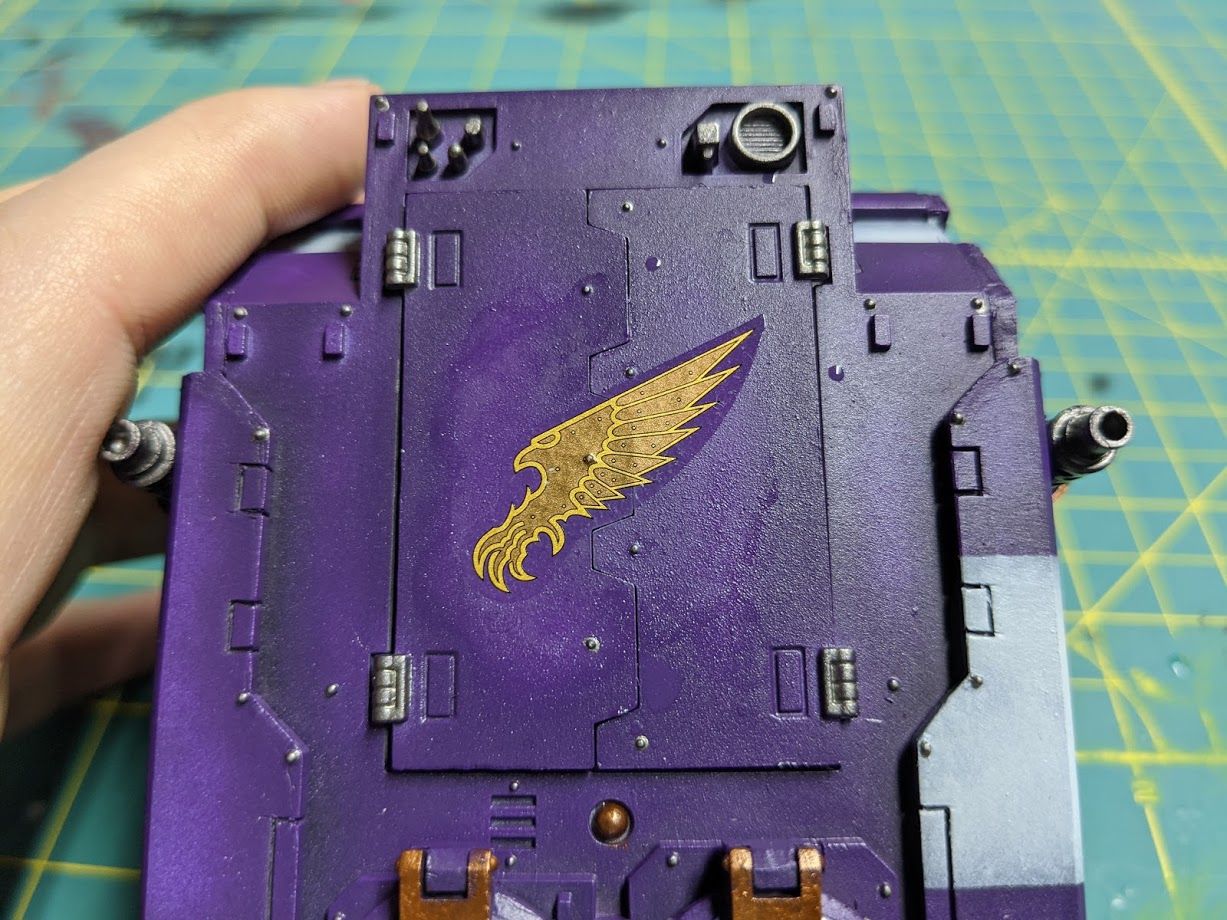
Once it was dry I went ahead and applied a thin layer of Microsol. Microsol will dissolve the decal and your varnish. It makes the decal blend into the model better. This will help it conform to curves and remove wrinkles and bubbles.
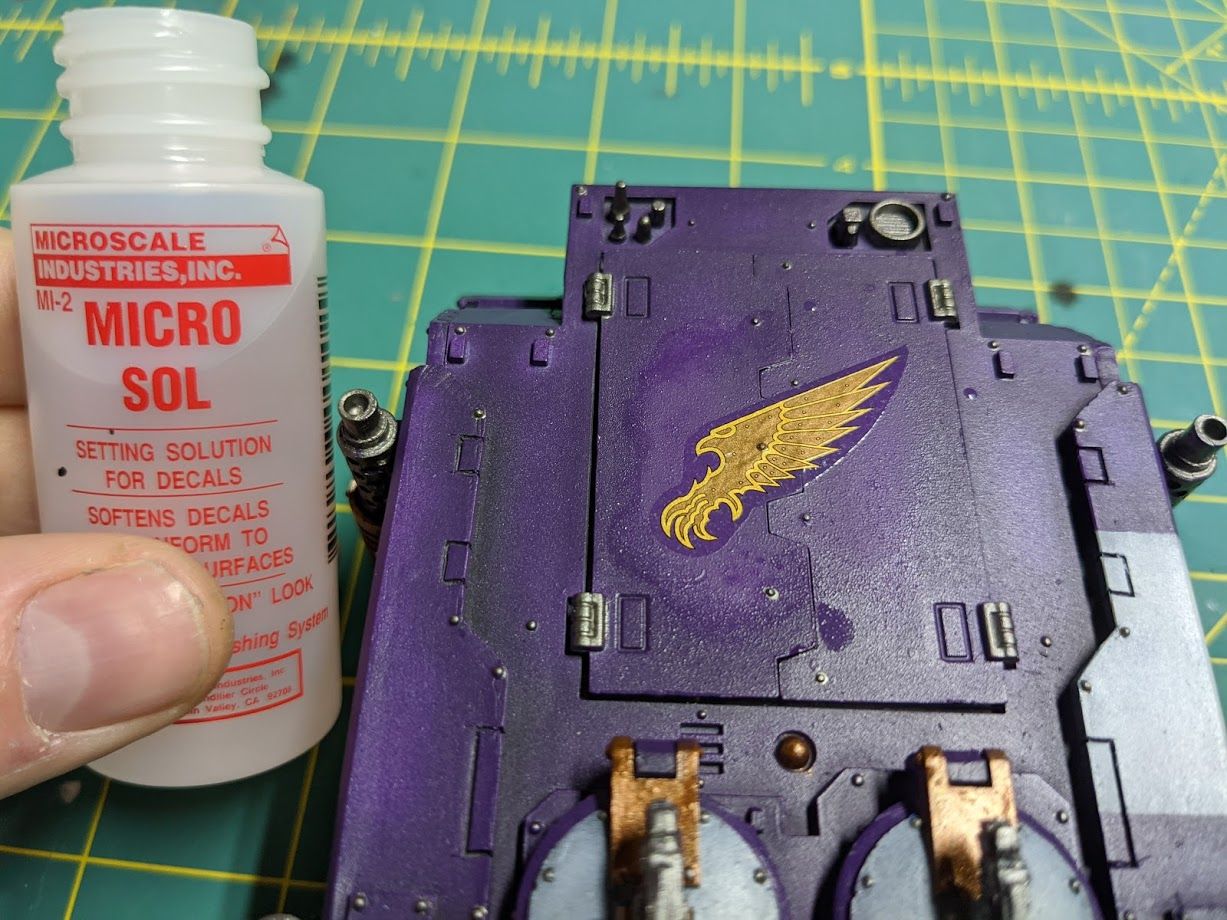
You can see in the next photo that I did not allow the decal to soak long enough in the water before applying it. It made the decal quite wrinkly. If you have this problem don't worry. You can solve it with enough microsol and patience. Keep applying a thin layer and taking a dry brush to smooth the decal out. Always brush from the middle of the model out. If your decal is sliding around in this process you will need to let at least one coat of microsol completely dry first. Again, dabbing with the microfiber will assist here.
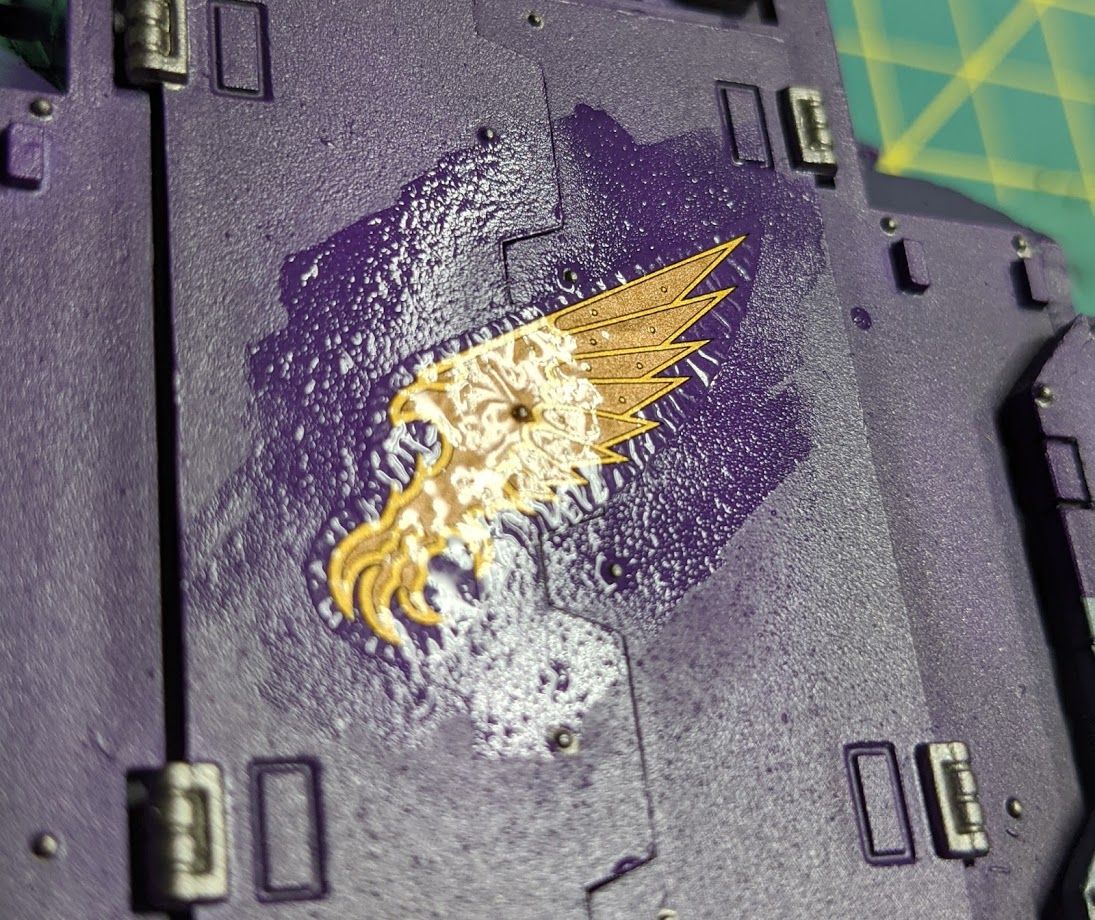
Keep working the decal in this fashion until it blends into the model. Once most of the wrinkles were gone I sliced the line where the doors meet through the decal.
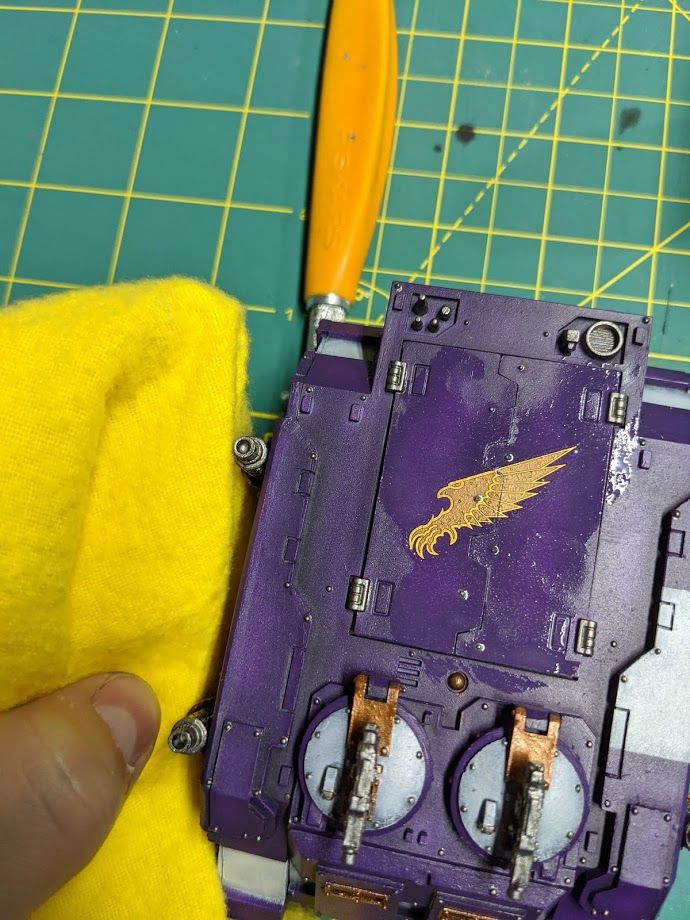
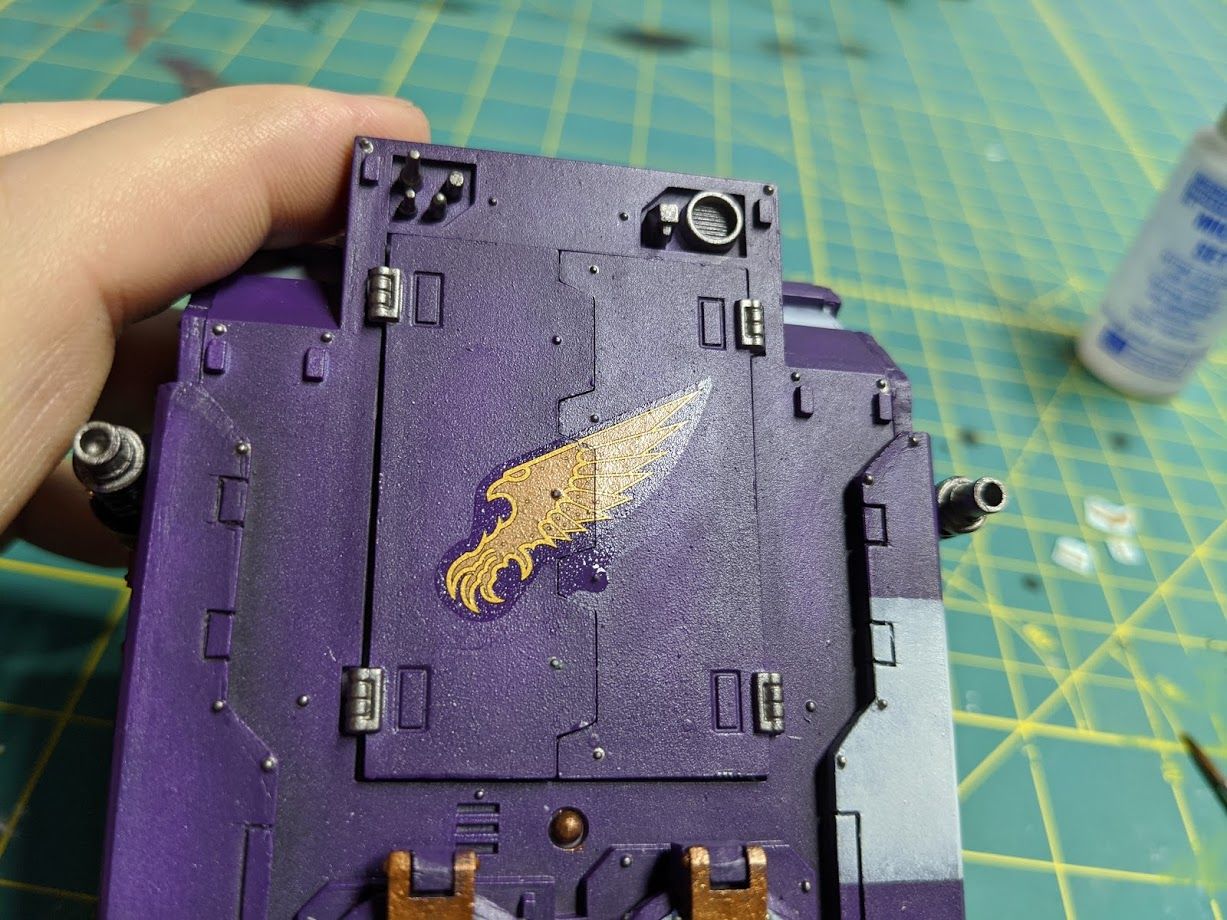
Once you've worked it enough it will be blended to the surface like this. You can see where the texture of the model comes completely through the texture of the decal now.
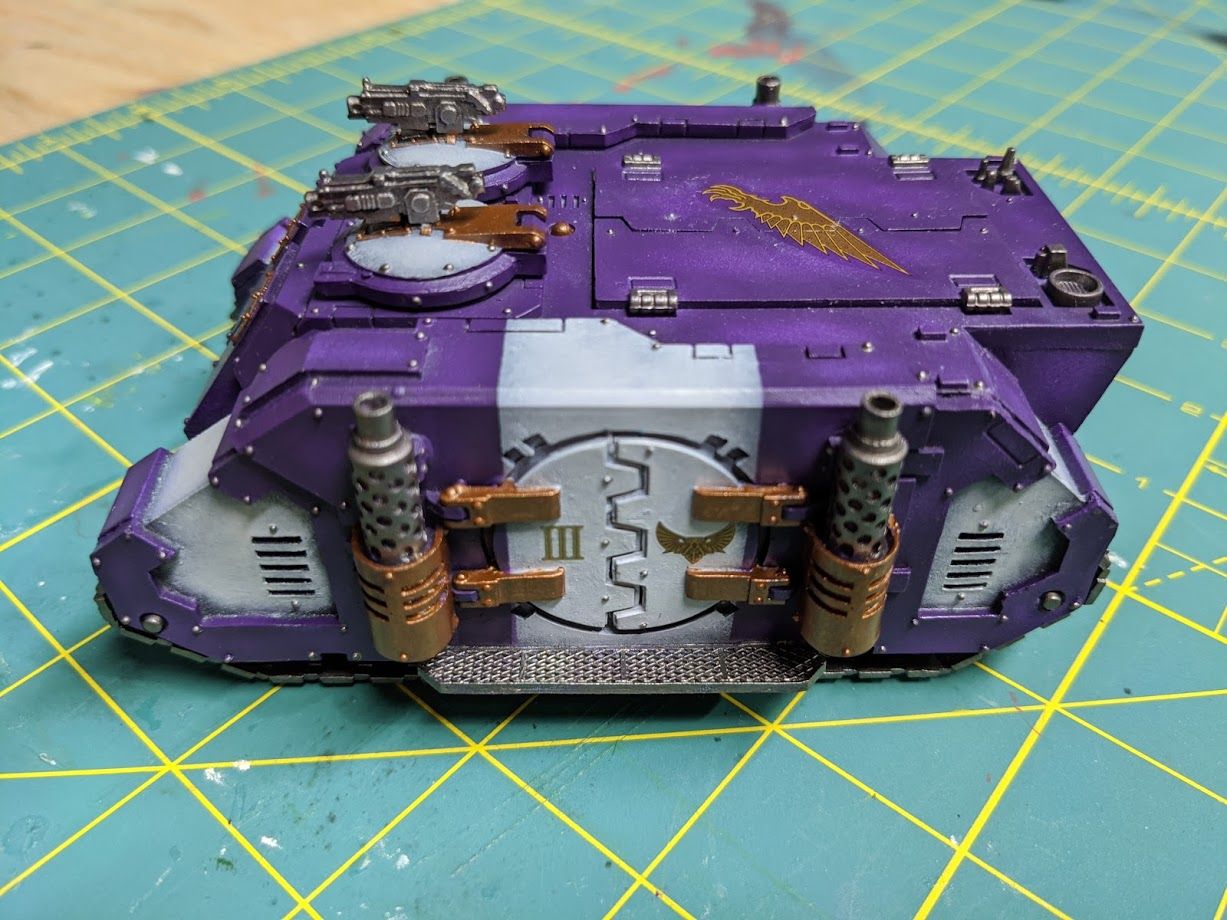
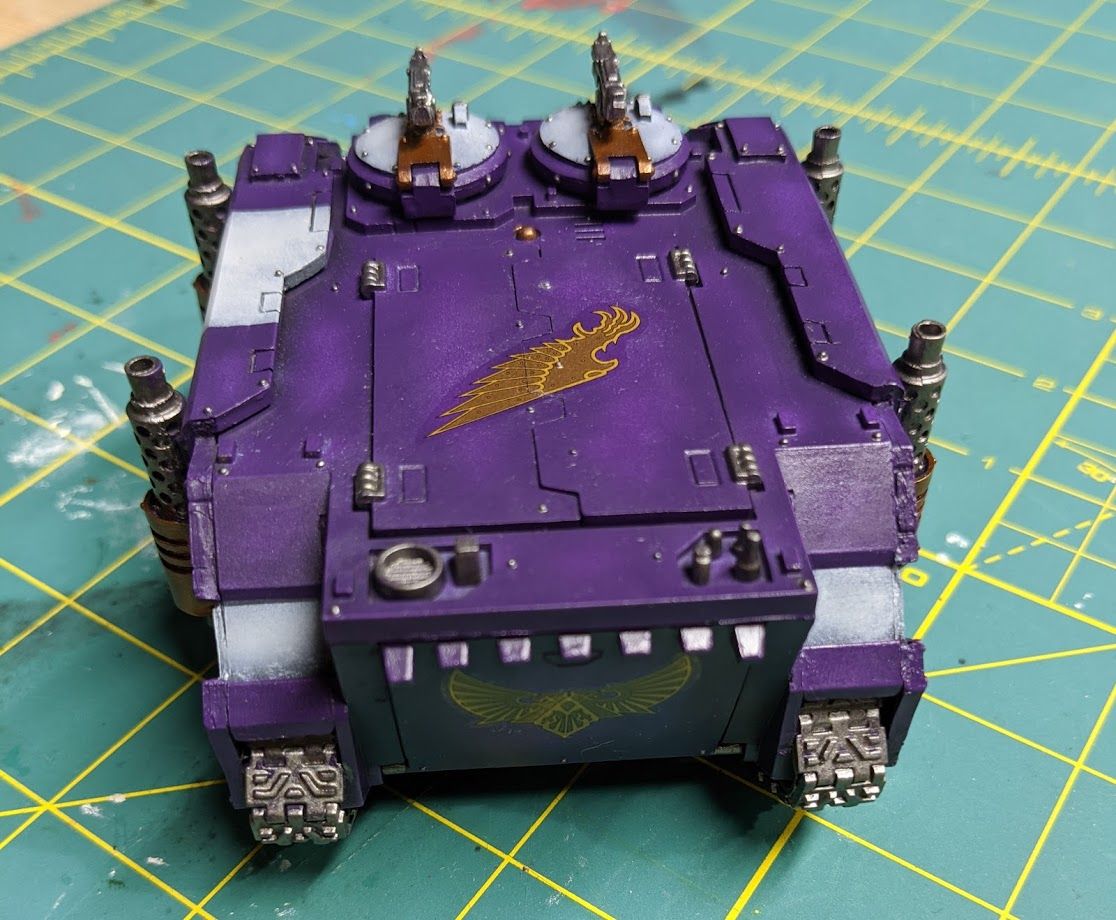
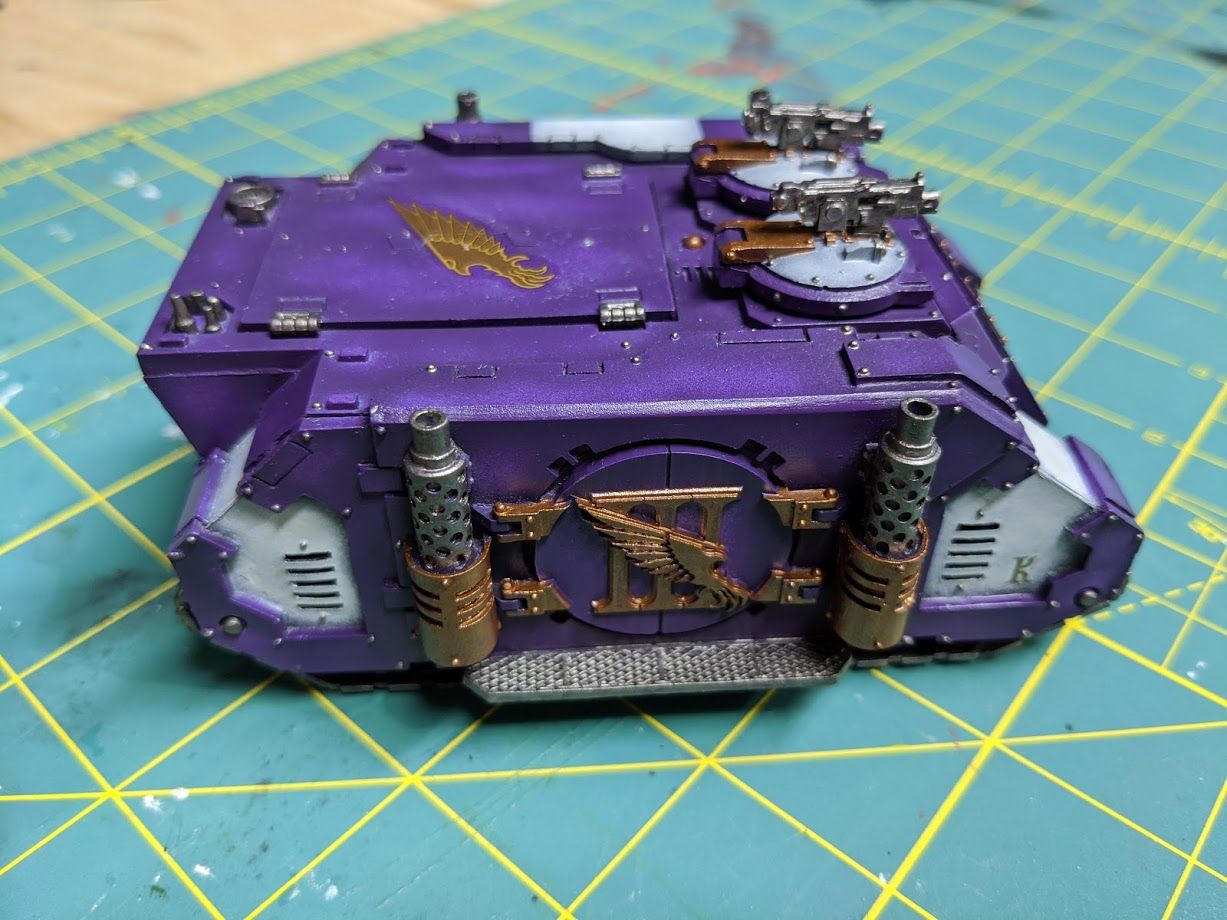
Keep applying thin layers of Microsol to each decal until you are satisfied with the texture.
Next I tackle the lenses for the viewports on the front of the tank. You can do this step earlier if you wish. I forgot until after I finished the decals. For my lens effect on Emperor's Children I use a mostly Contrast paint method. I start with the Grey Seer color. You don't need to use Grey Seer, I just do because I like the color. You can use any white or off white. I like how easy it is to apply smoothly over a regular pure white color. This technique is what I use for the lenses on space marine helmets. I've scaled it up to do these tank windows.
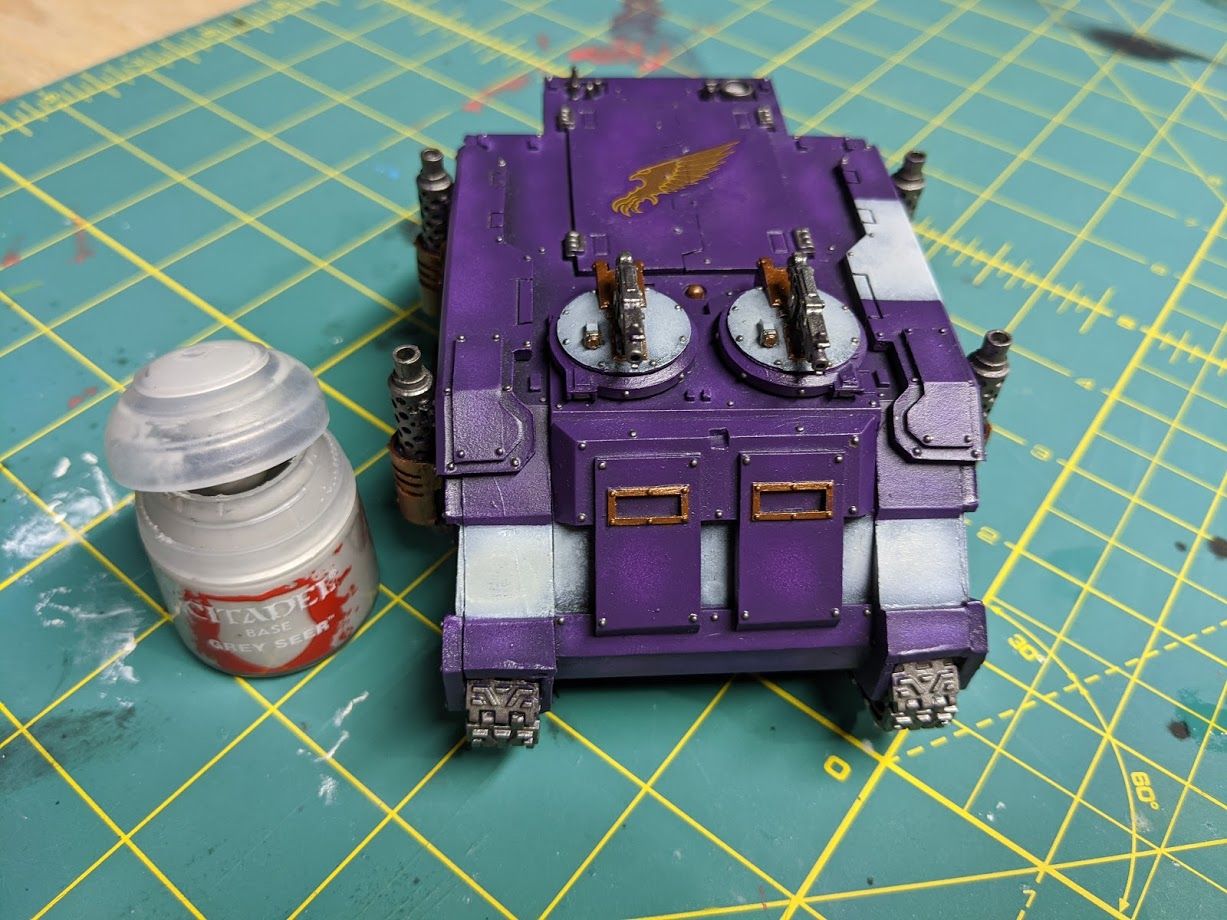
Nothing special here. I grabbed my Rosemary and Co Series 33 #2 brush which is my standard for non-metallic base coats and I block in the windows. To go over the purple it takes two or three thin coats.
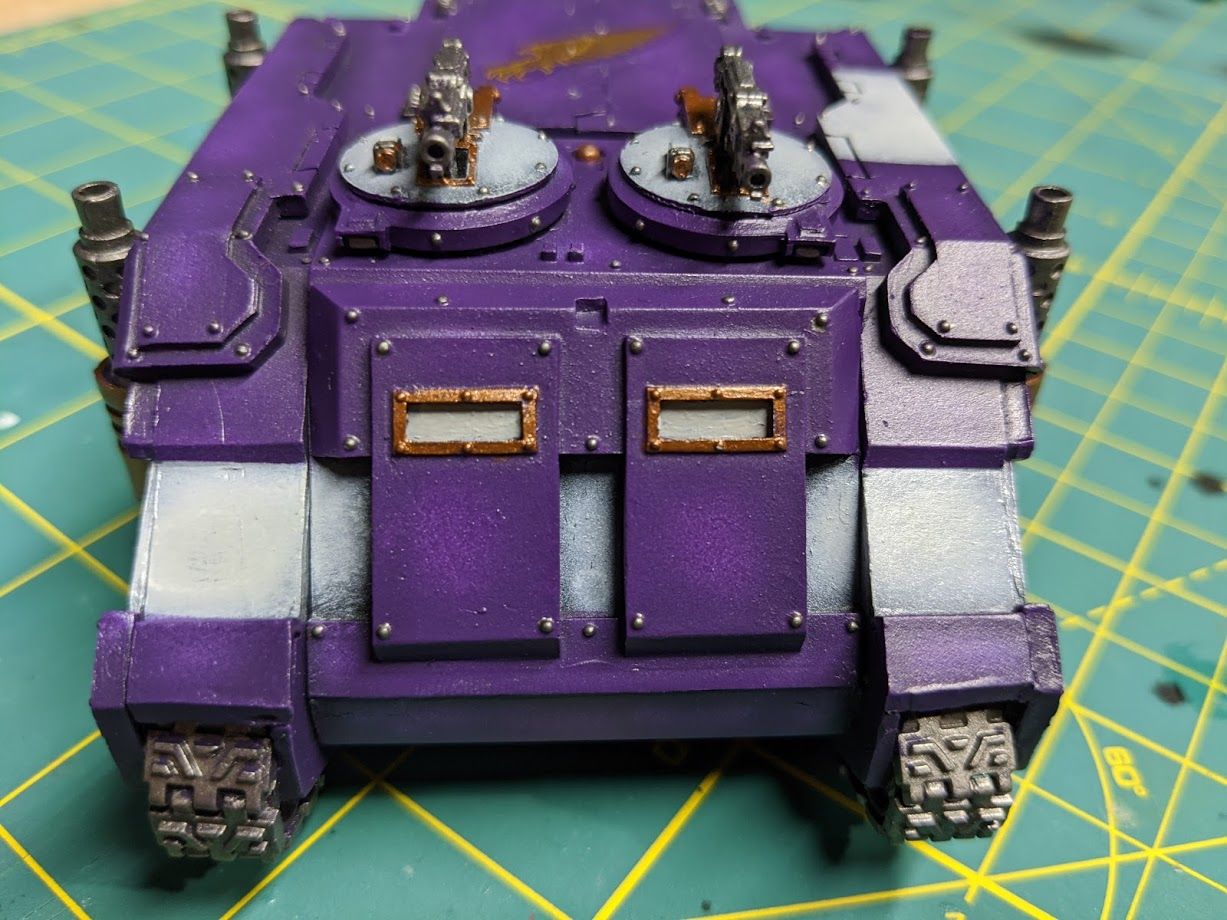
Once that's finished I get out my Warp Lightning green contrast paint. I love how vibrant this green color is. For this next part you will want one wet brush and one dry brush. Your dry brush needs to be smaller to get inside the window. Same two brushes again.
You also need to make sure you have some of the white you used ready to go on your wet palette.
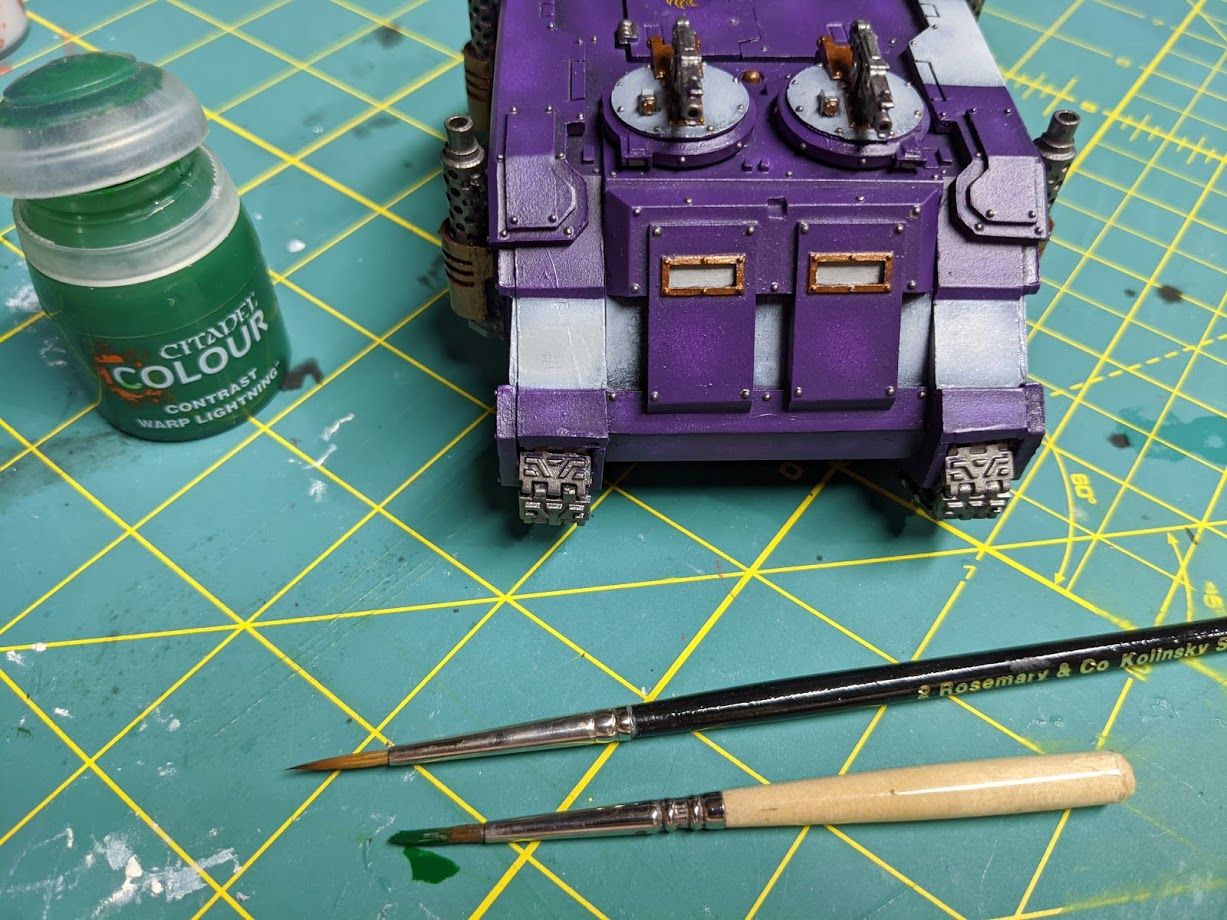
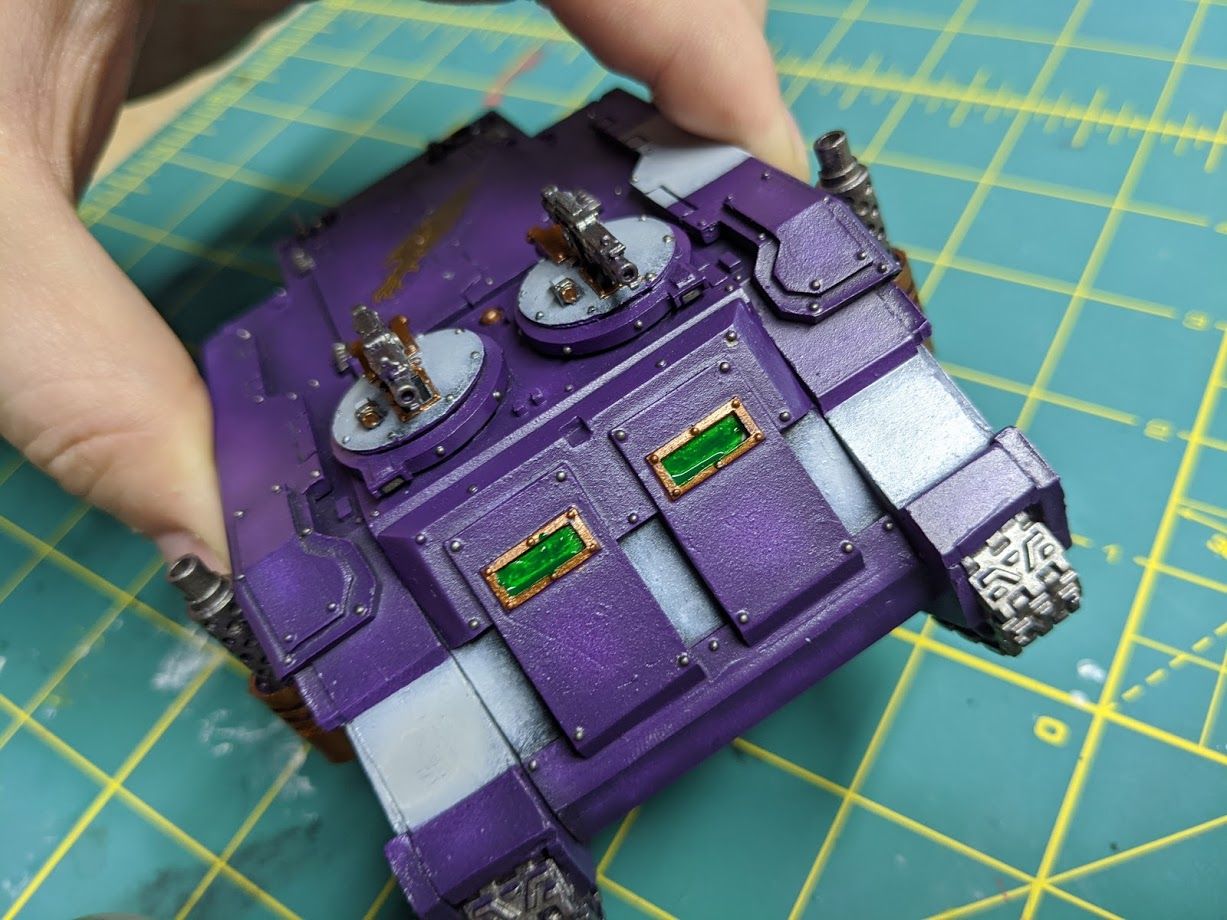
I keep the model tilted like this because this is the angle I want the blend to go. I start by globbing in a bunch to fill the area.
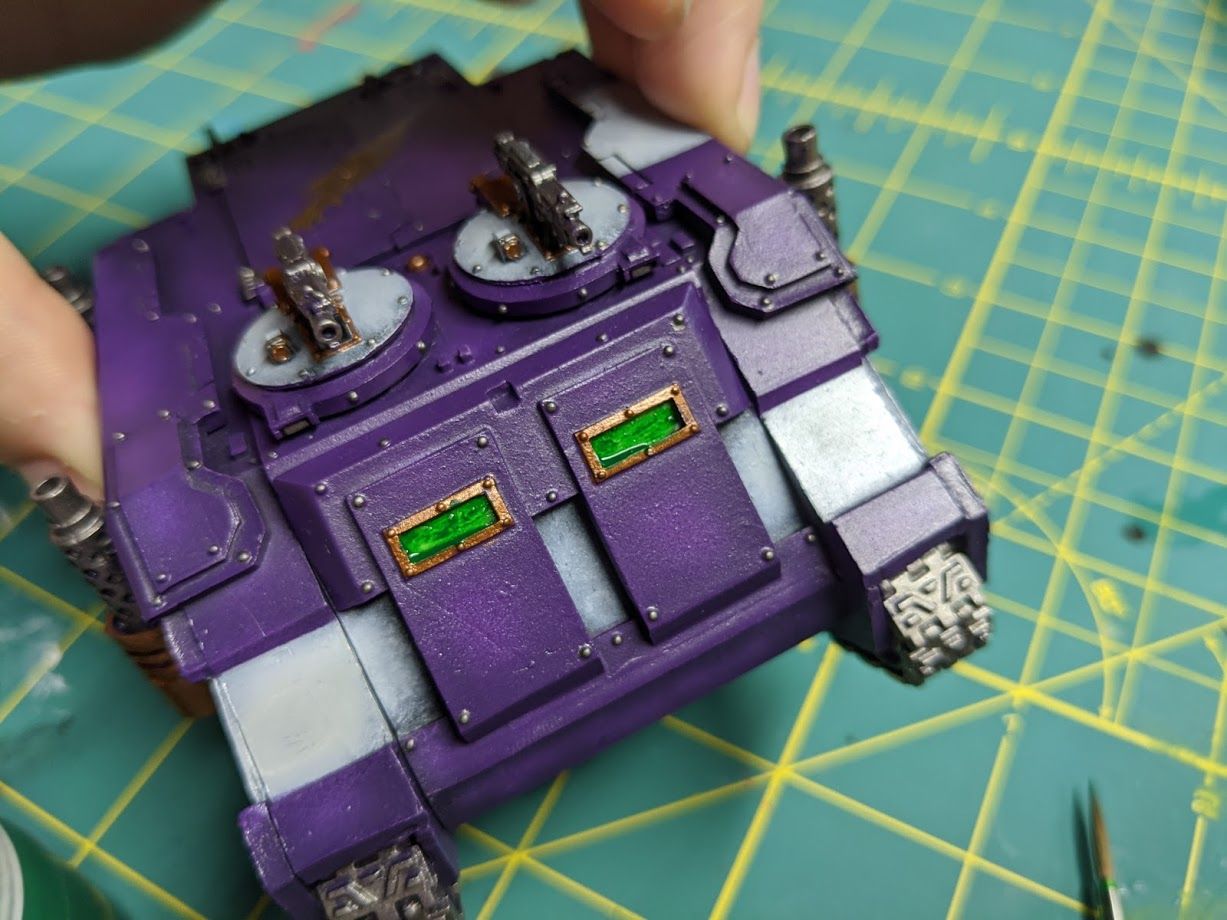
I take my dry brush and I wick the paint away in the upper right hand corner where I want it to be lighter. Then I clean the brush and get some of the white paint and blend it into the wet contrast paint in the corner where I want the light source.
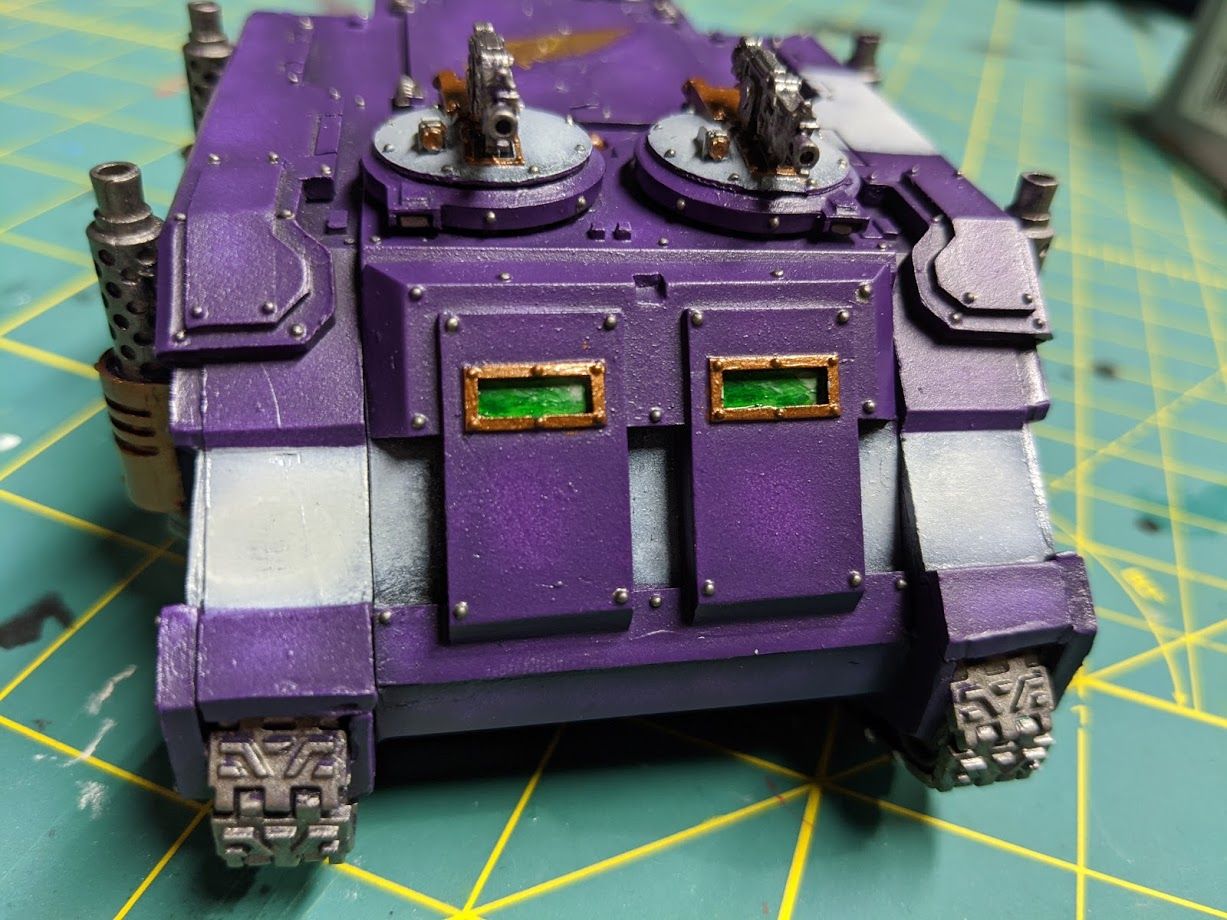
You can keep playing with the green and white and blending it. When its closer to dry I added another dot of pure white that wasn't blended in much to add a final highlight. I'm not extremely satisfied with the blend but this whole process was very fast and it looks good at tabletop. On the smaller scale in a marine lens, the blend will be much cleaner. You can also go back and add a little more green to the bottom right in a second layer to add further depth.
Now we're ready for another layer of gloss varnish before weathering. For this varnish coat I tend to drown the model somewhat around the decals. This will help blend the edges of the decals into the model more. Be careful when doing this. I really only learned how much I can safely drown the model by going too far when learning the airbrush. If you put too much on and the texture goes bad, just clean the whole area with a cloth and your airbrush cleaner. Let it all completely dry and then layer varnish back on to fix it.
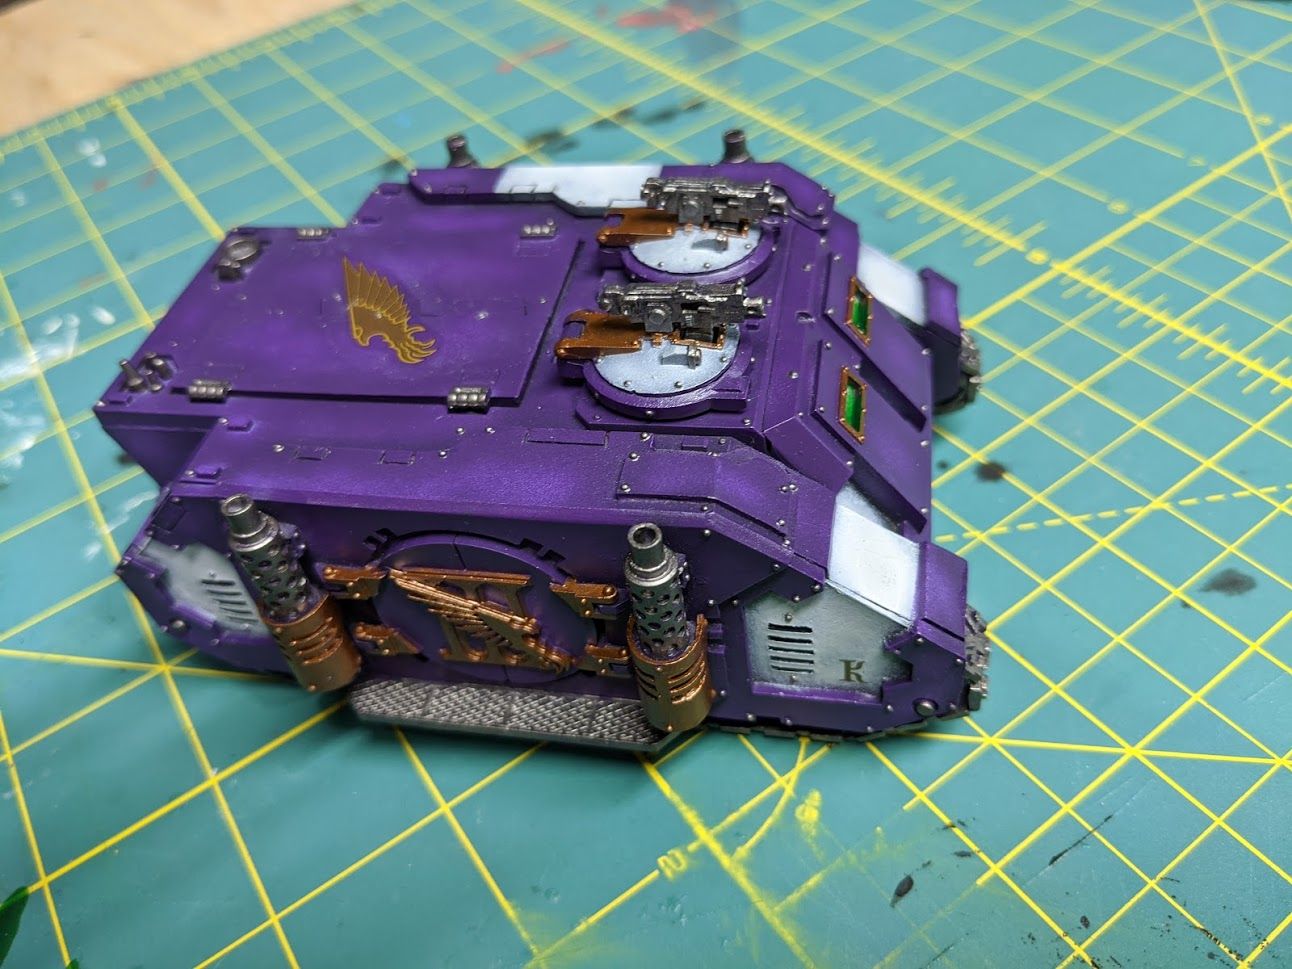
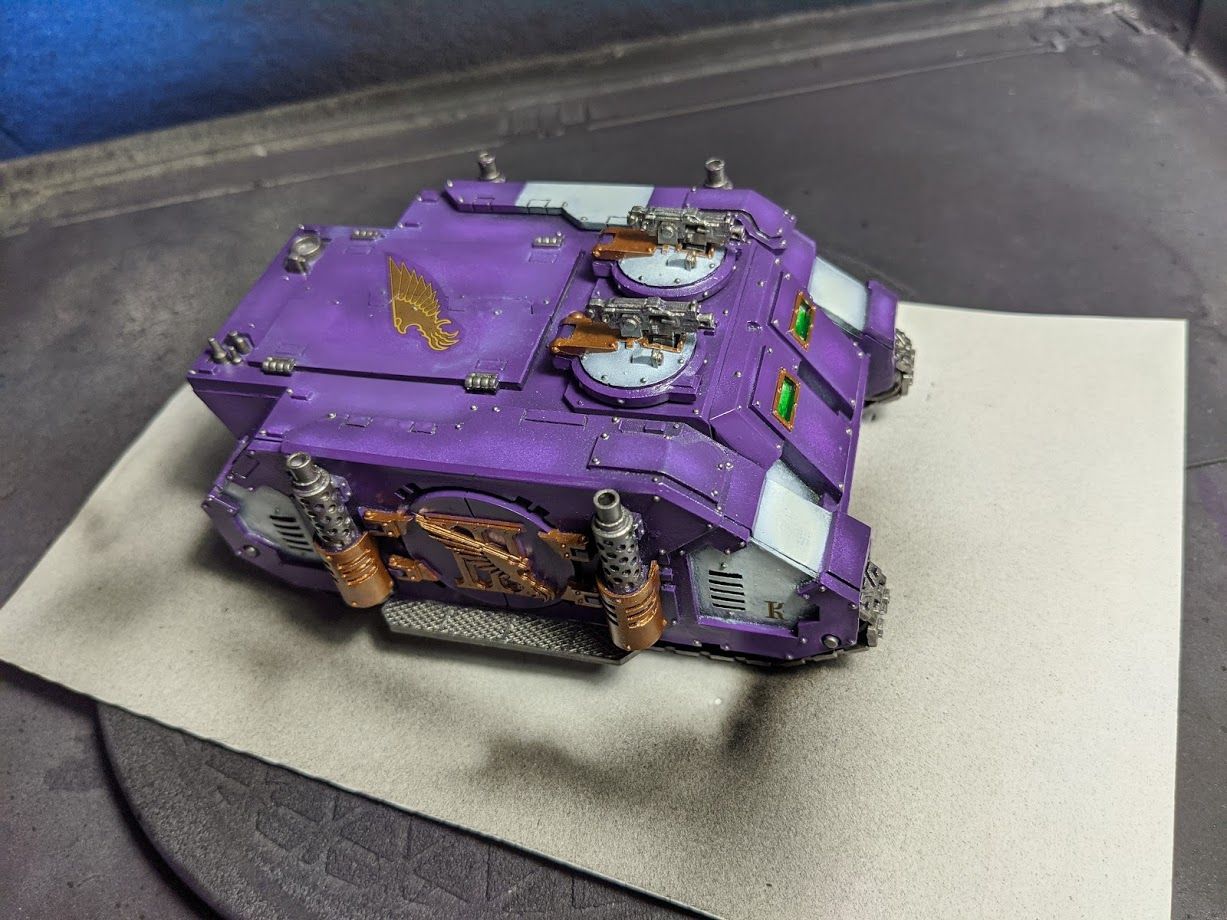
The decals still won't quite be blended in all the way at this point but that's okay. Now it's time for oil weathering. I use a separate set of brushes just for oil. Again many of them have been recycled from nice brushes that I wore out. I also have a small dry palette, a towel dedicated for oil clean up, mineral spirits, and sponges.
For my oils themselves, I use W&N in Lamp Black for black and Burnt Umber for brown. The black is for most of the model and the Burnt Umber is for the gold areas and anything I want to be extra dirty or grimy.
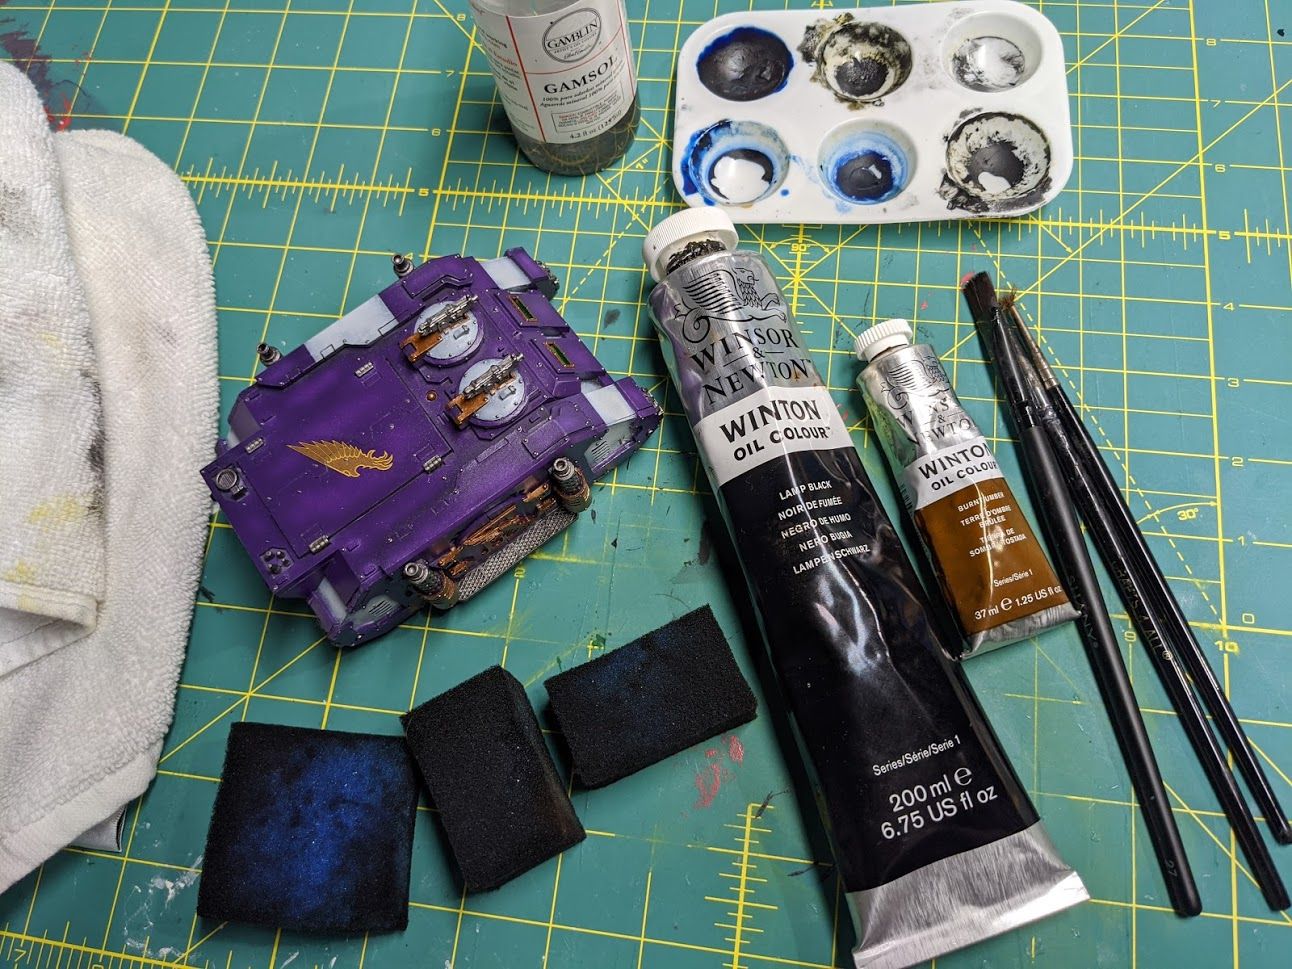
To make your oil wash you simply add some mineral spirits to your palette and mix in some oil paint until it's at the desired consistency. One to two brushloads to this much spirits for a light filter and wash. Three to four for a saturated pin wash.
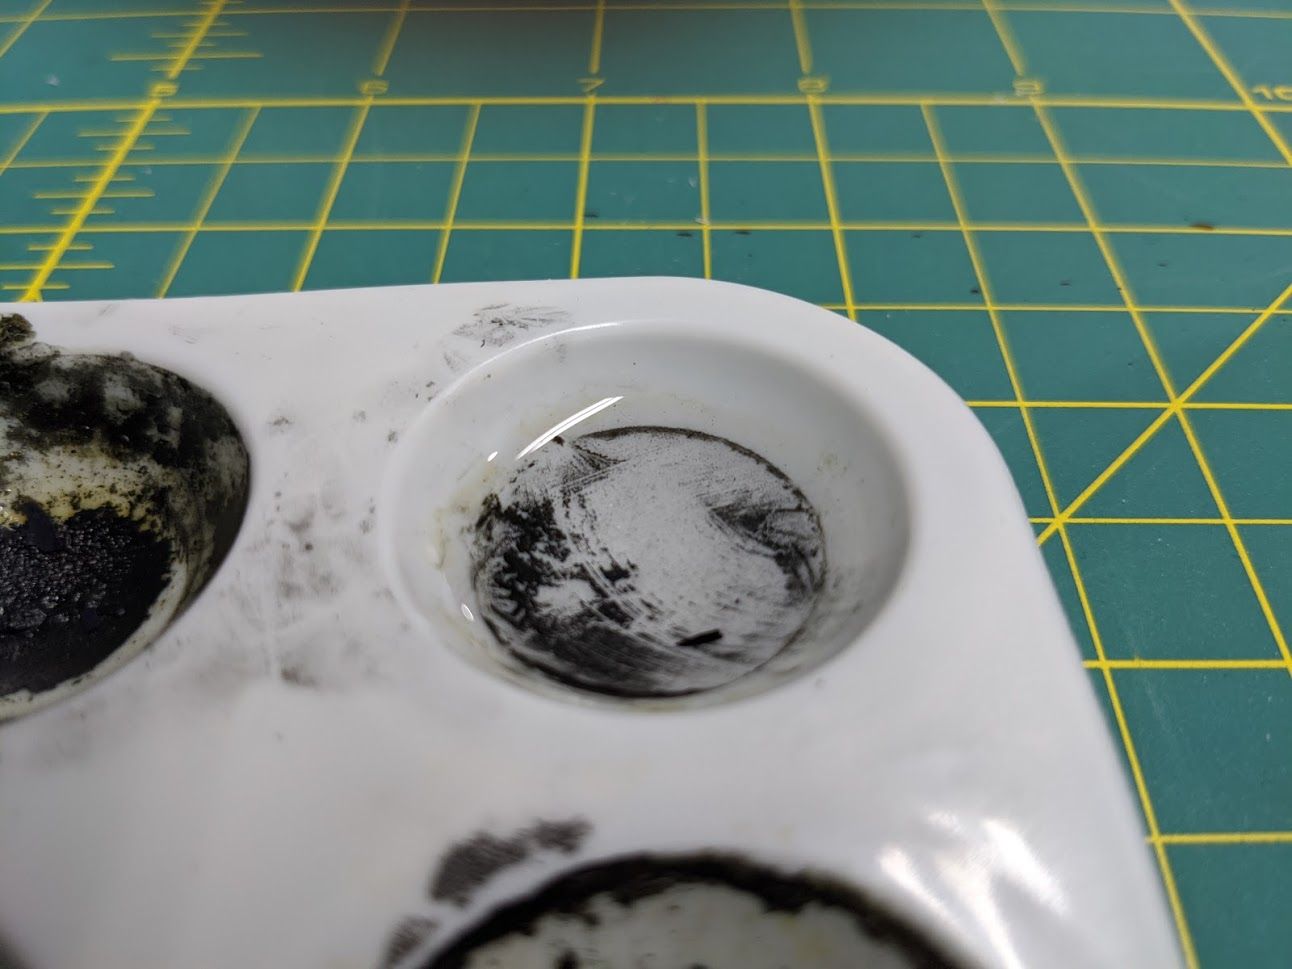
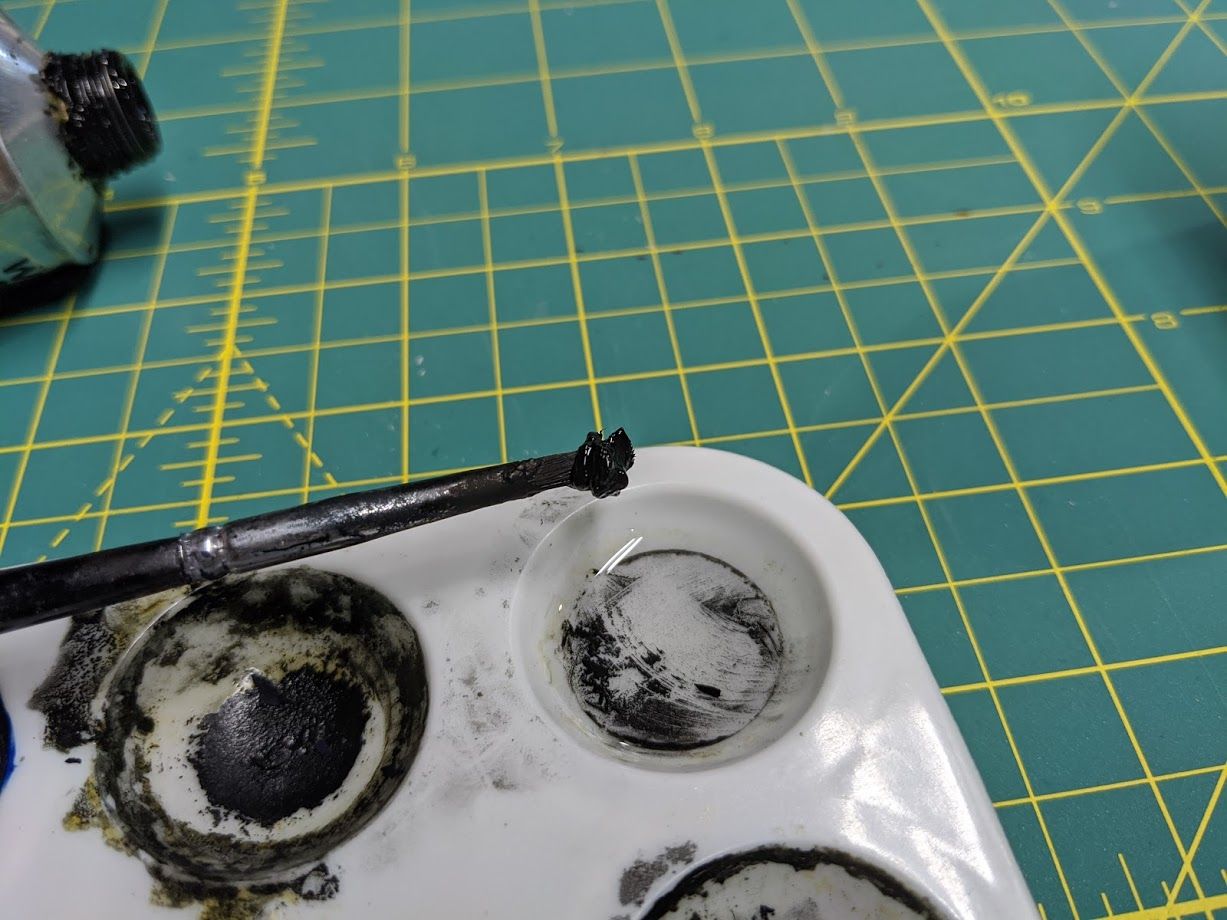
Once you've done that just take your more precise oil brush and start tracing around all the rivets, corners, edges, everything. It will not look clean. Do not fret. The working time of oil that has been thinned with mineral spirits is very long. Additionally you can re-activate it with more spirits for even months. The barrier of gloss varnish underneath allows you to work this until you are completely satisfied. The main focus of this layer will be everything but the gold areas. You will get it on some of the gold through this process but don't directly apply it to the middle of gold areas.
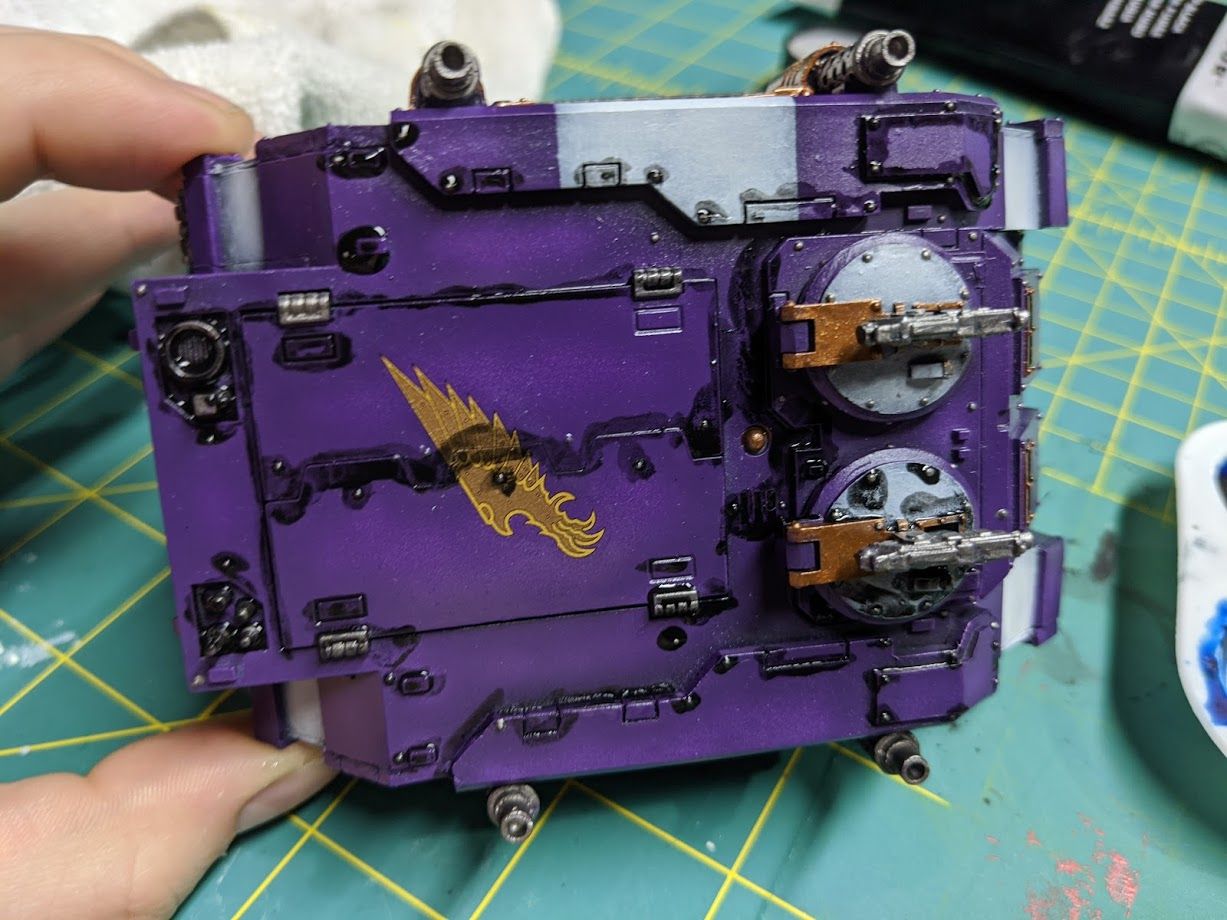
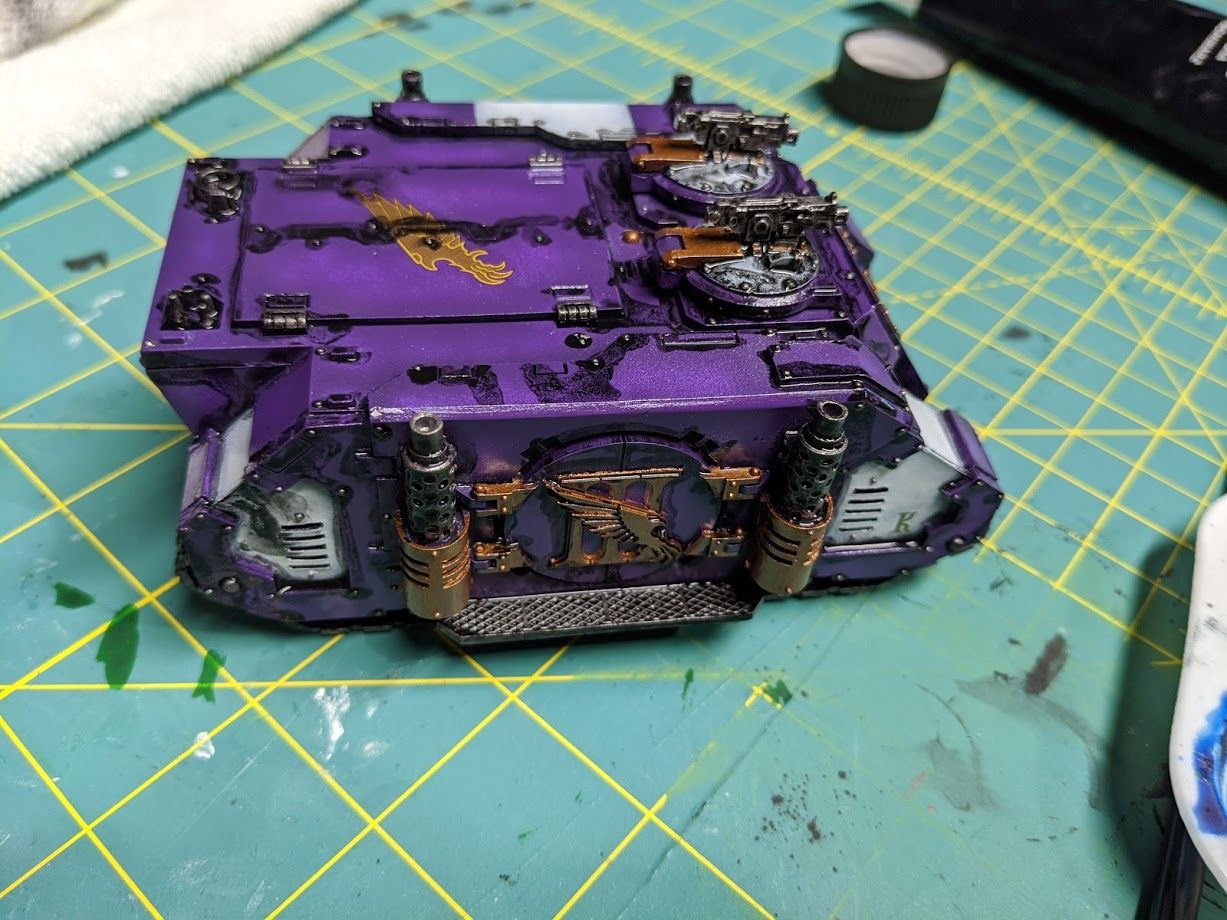
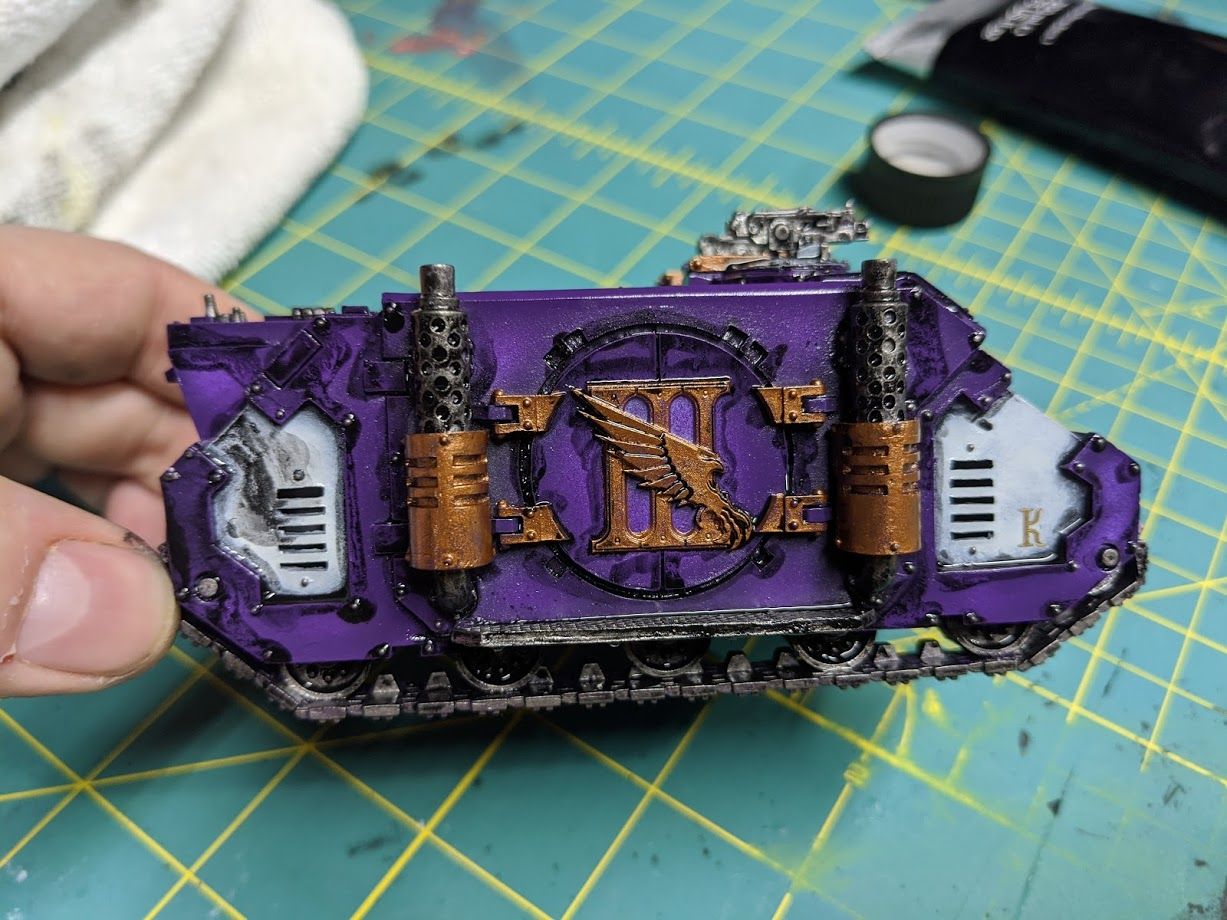
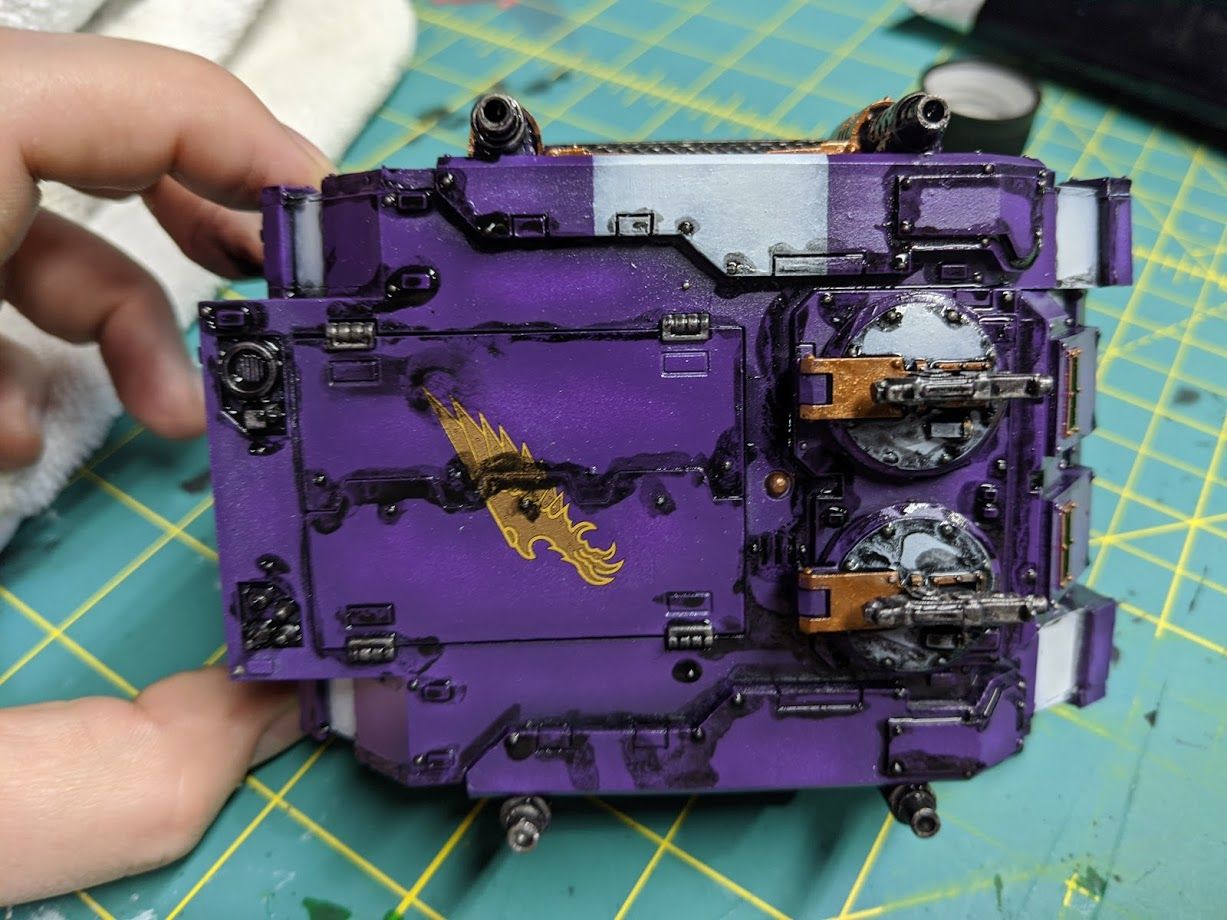
Once I finish tracing all the details I take one of the sponges and start swiping away at the model in the direction of travel. Front to back and back to front. I want the majority of the grime to look like it's a part of transit. It shouldn't be just blurred around in smudges.
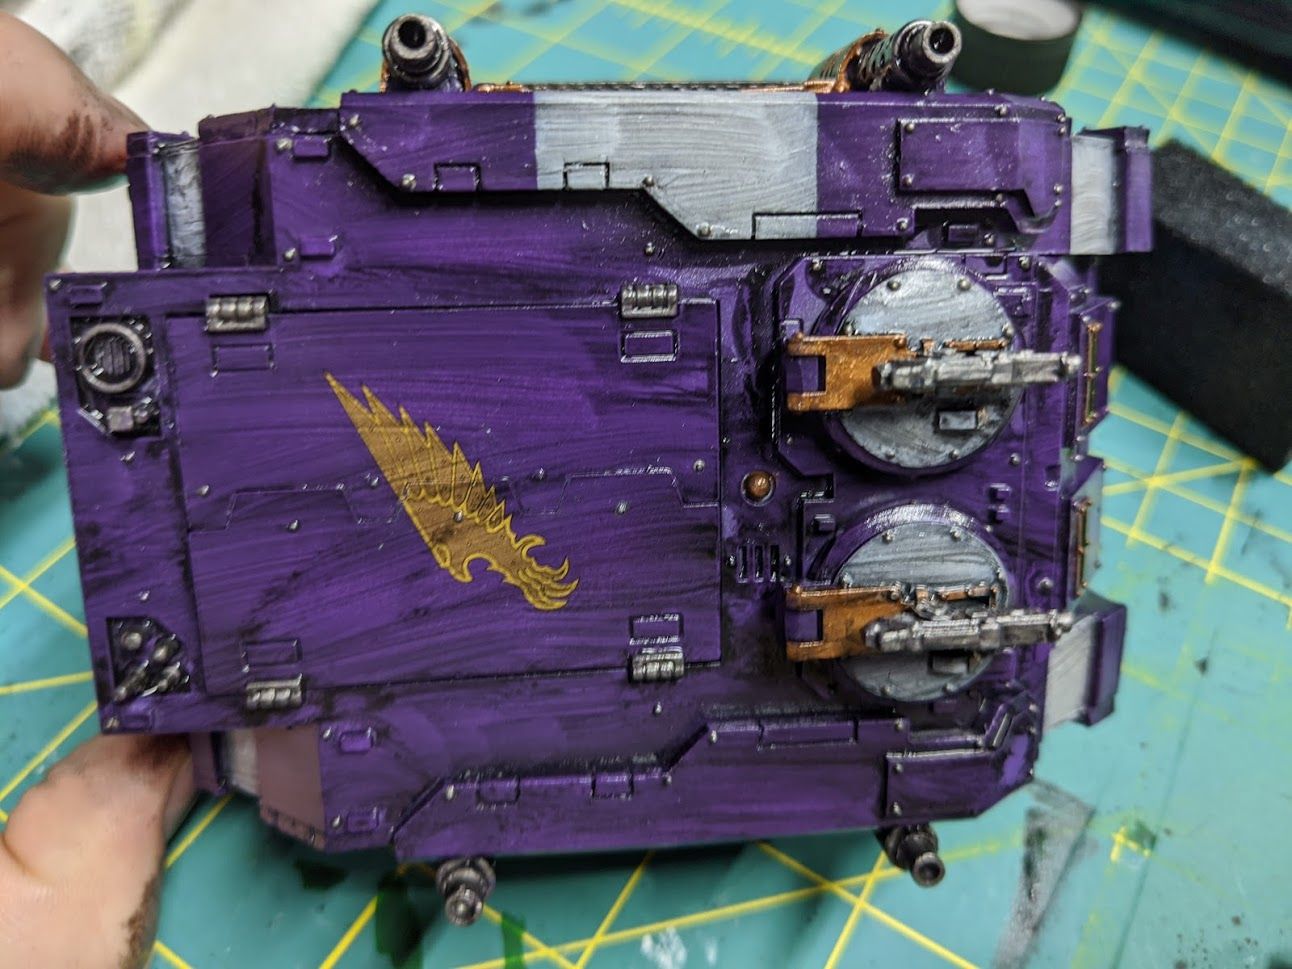
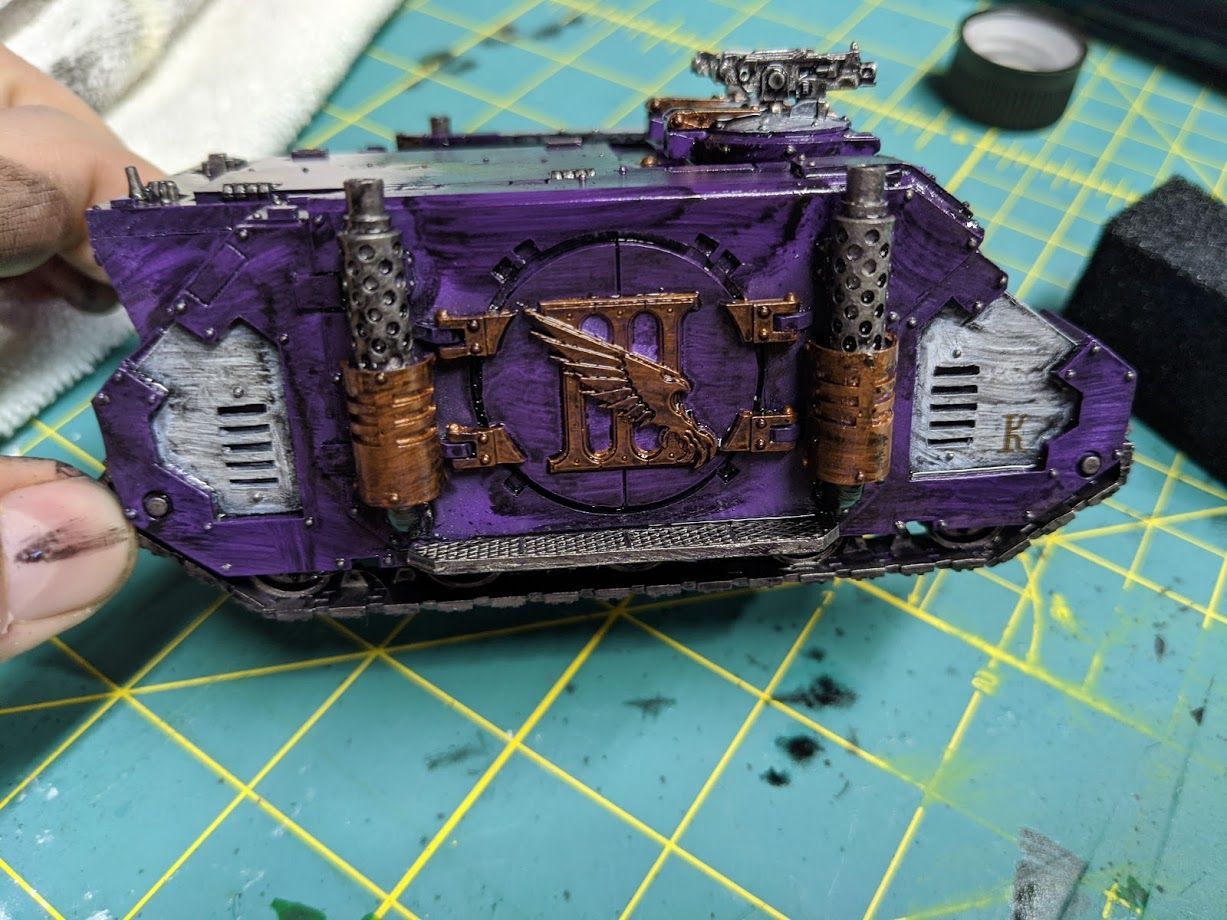
At this point the sponge I've used has too much paint in it to continue. I switch over to another sponge and eventually the towel. Continue to wipe away at the model and remove the oil until you are satisfied.
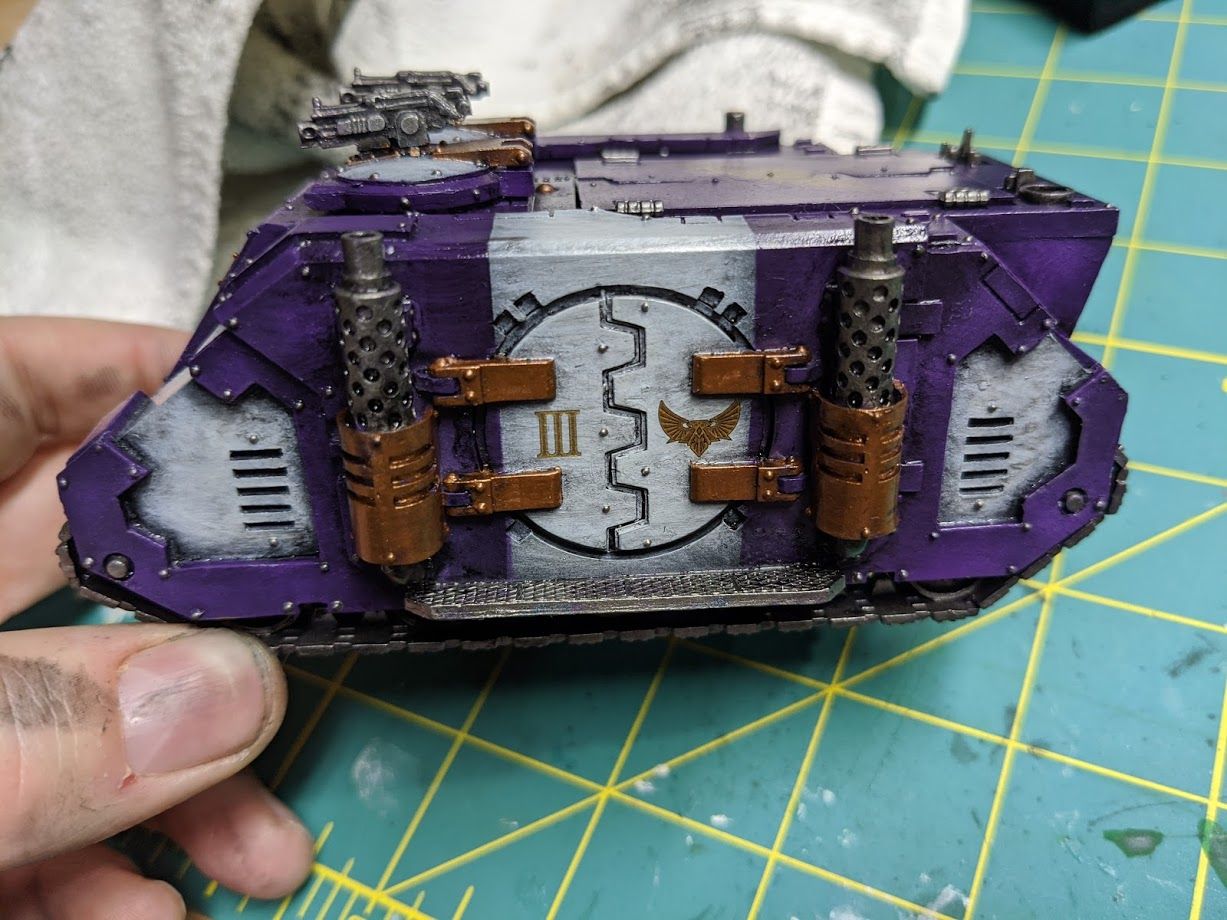
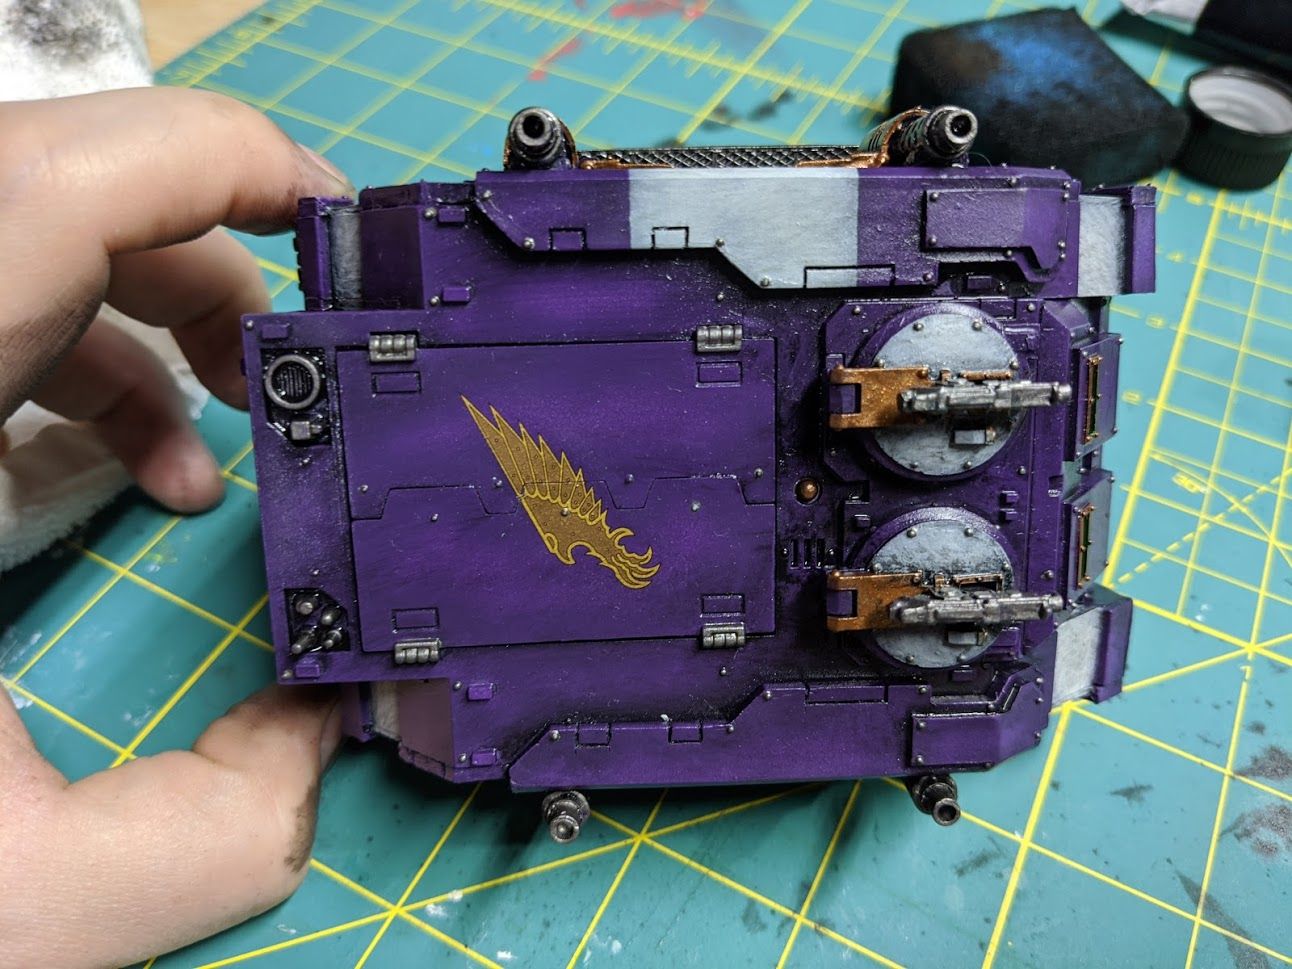
At this point I continued to play with the oil in a few areas such as putting a streak of a black smear over the eagle on the top hatch. I also put a little bit more oil carefully pin washed into a few recesses where I felt I had removed too much with the rag.
Next up I mix a batch of the brown to use for the gold. I am much more careful with this layer, which is easier because there is a lot less necessary. I apply this to places like:
- Rivets on the white areas, allowed to streak down the model and dry like that.
- Middle of gold areas.
- The treads in addition to all the black oil.
- The bottom of the tank near the treads.
- A few splotches on the steps to get up to the doors as well as the bottom of the doors.
- The bottom recesses of the white recessed areas.
- The silver vents that have some kind of airflow through them.
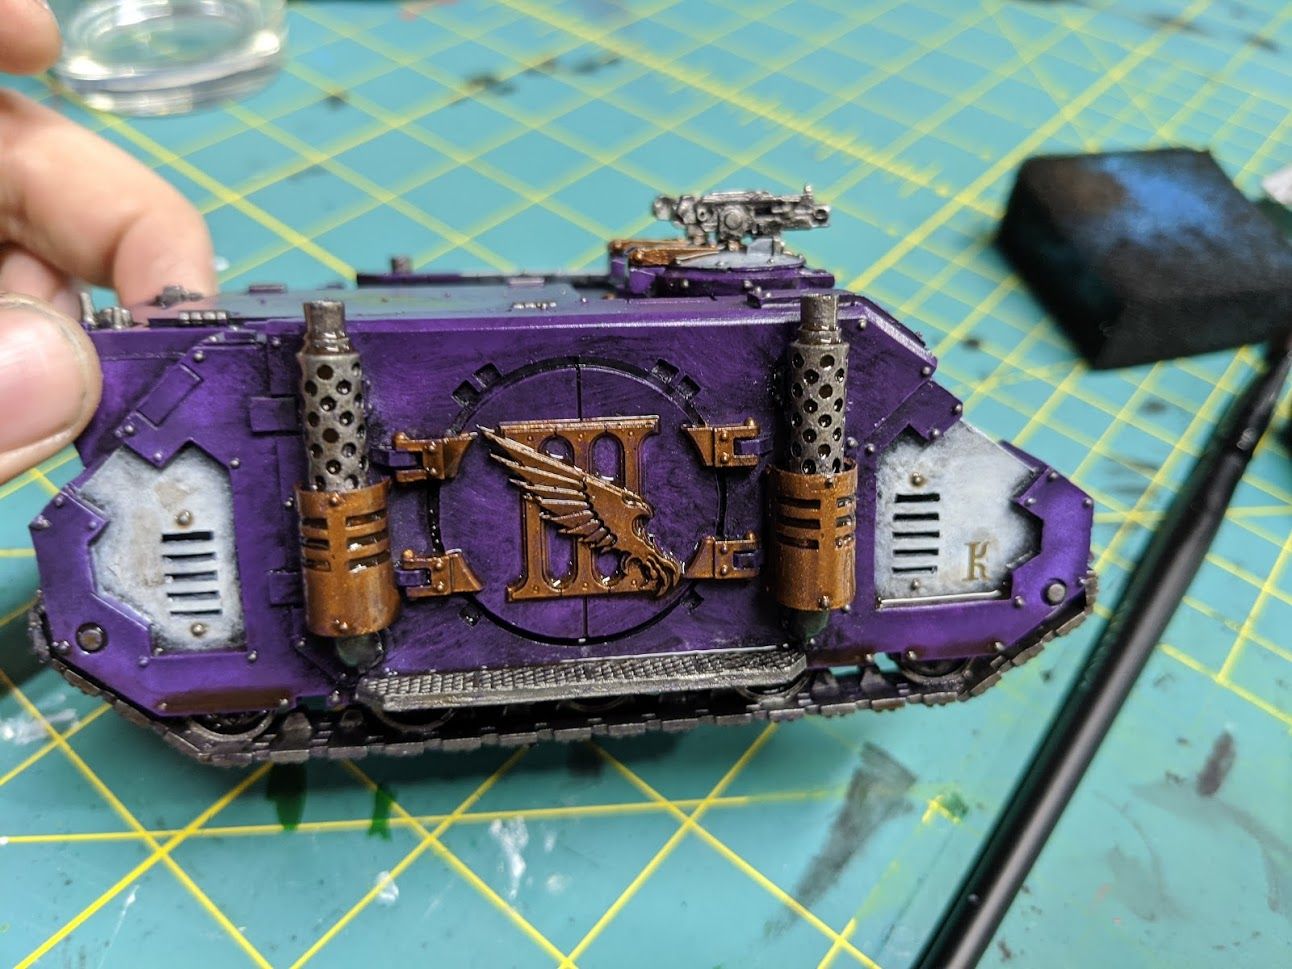
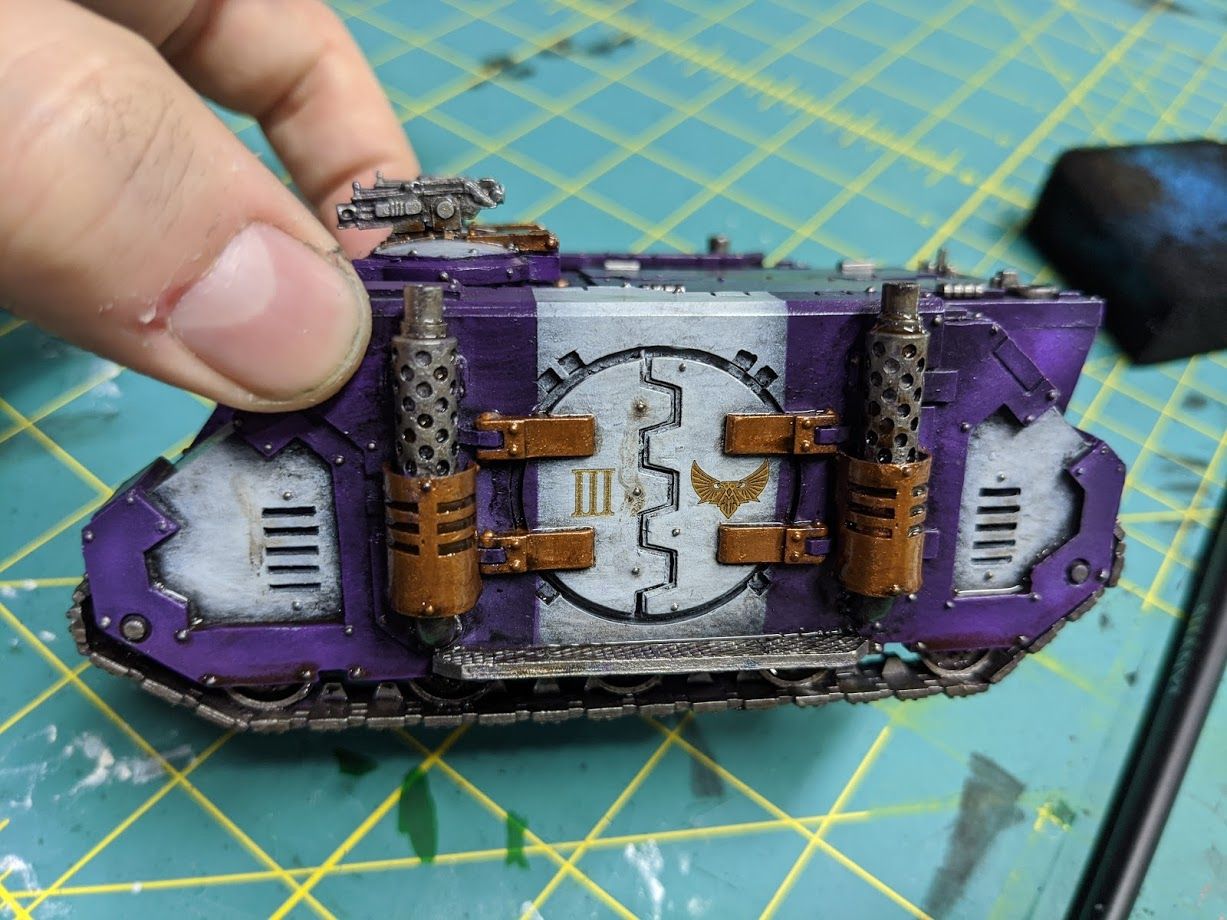
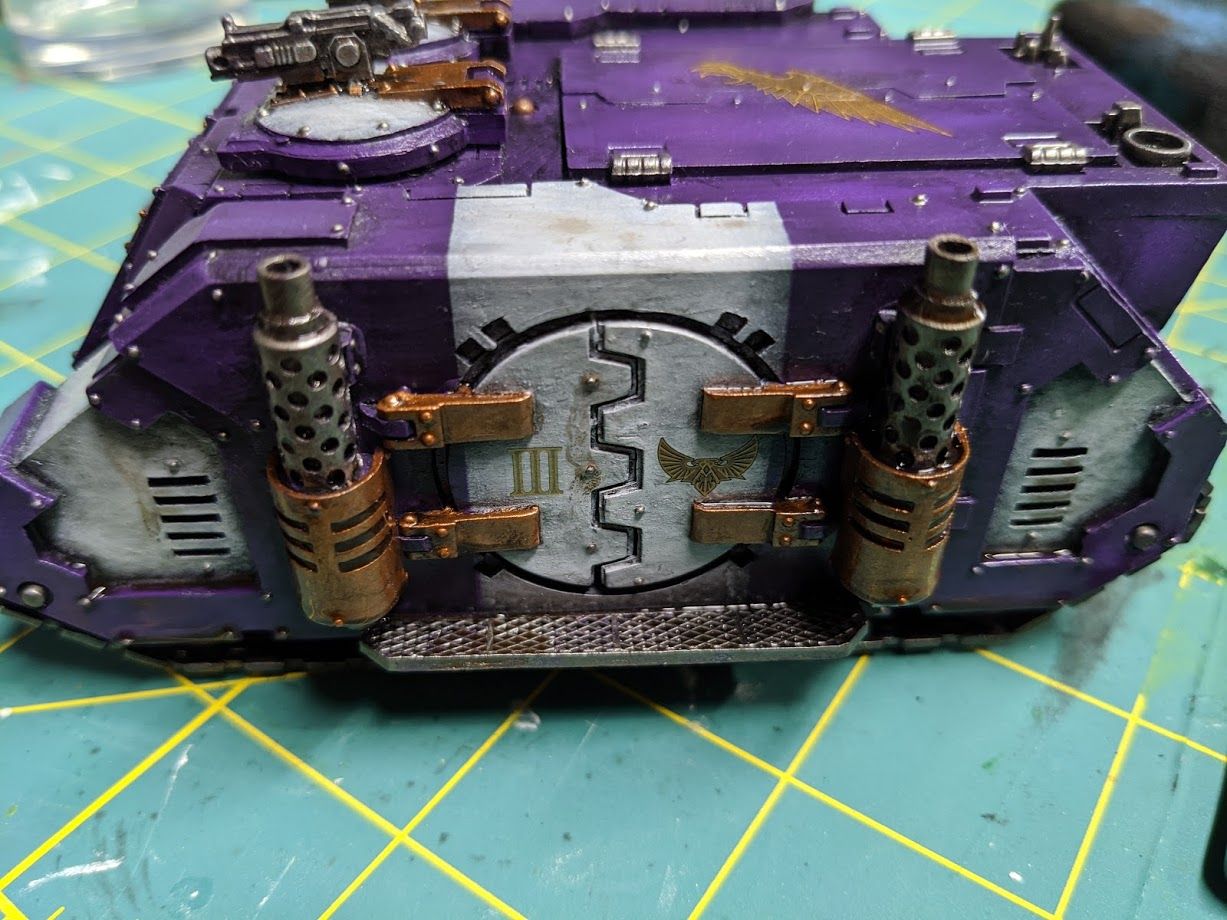
Finally I simply touch up the model in places. I can use my dry oil brush to feather tight areas I couldn't reach with the sponge or towel. I can add a little raw spirit to the rag to buff off a few areas I think should show a shine.
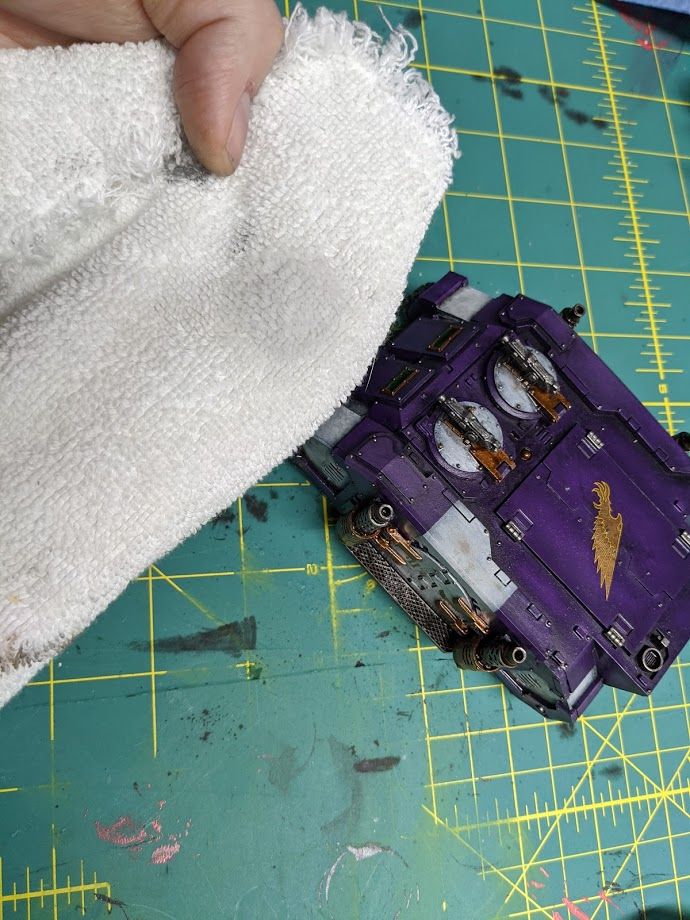
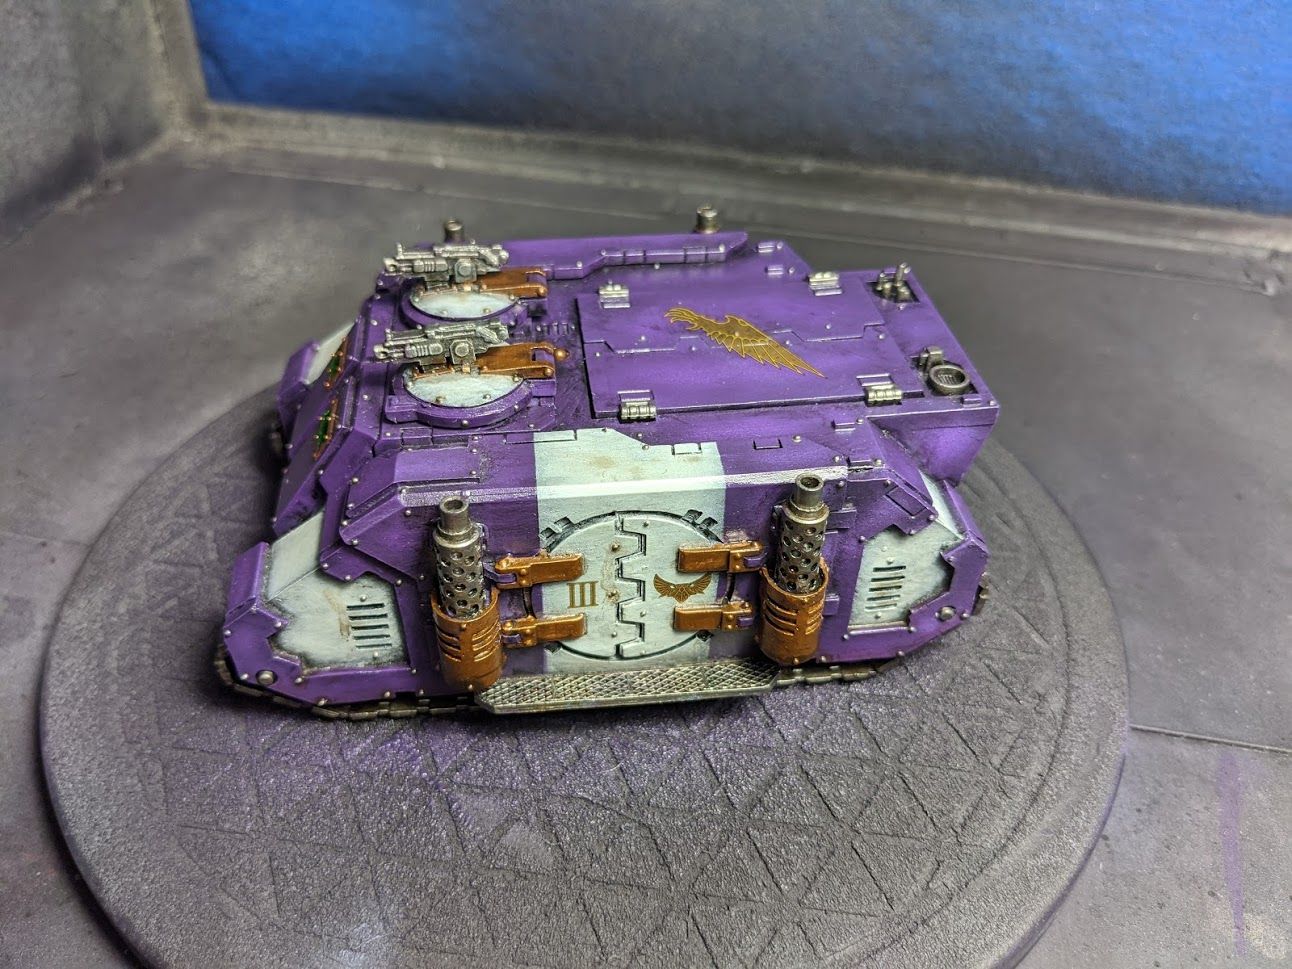
That's it for the detail work. Let it completely dry, ideally overnight. You can hurry oil drying with a hair dryer but you will want to stay far back from the model unless you want the oil to be pushed around by the airflow. After that I simply gloss varnish it again, and then when that's dry apply my matte varnish. These coats will blend.
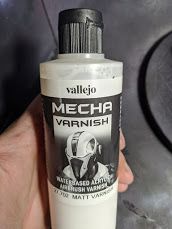
The matte varnish I prefer is the Mecha Matte varnish from Vallejo because it comes in a big bottle for spraying through the airbrush. I spray this unthinned but you might want to thin this one a little depending on how matte you want the final product. This is the same formula as the small Vallejo matte varnish bottles, the "mecha" is because they sell a big bottle for Gunpla.
And there you have it. This is the final product. By the time you did these other varnish steps the decal edges will be almost undetectable.
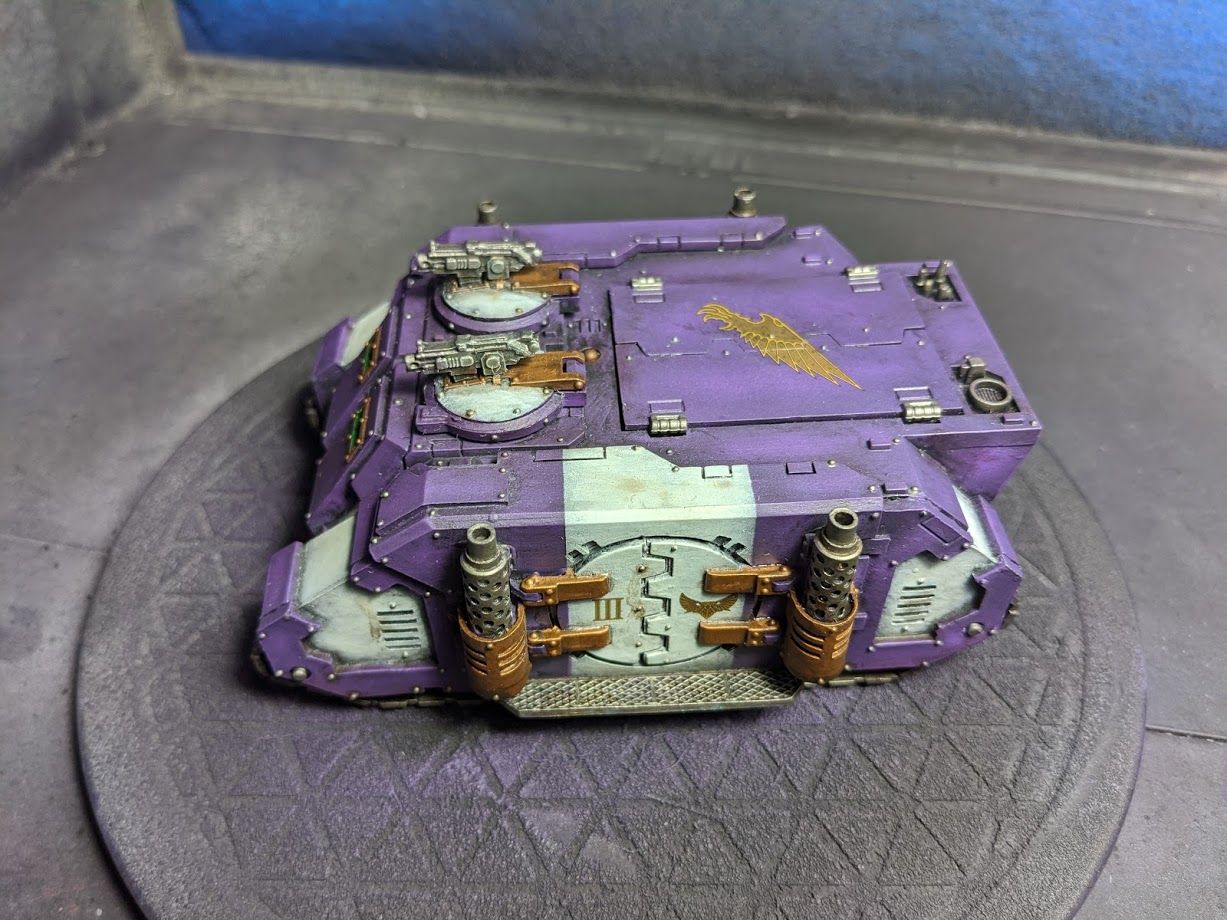
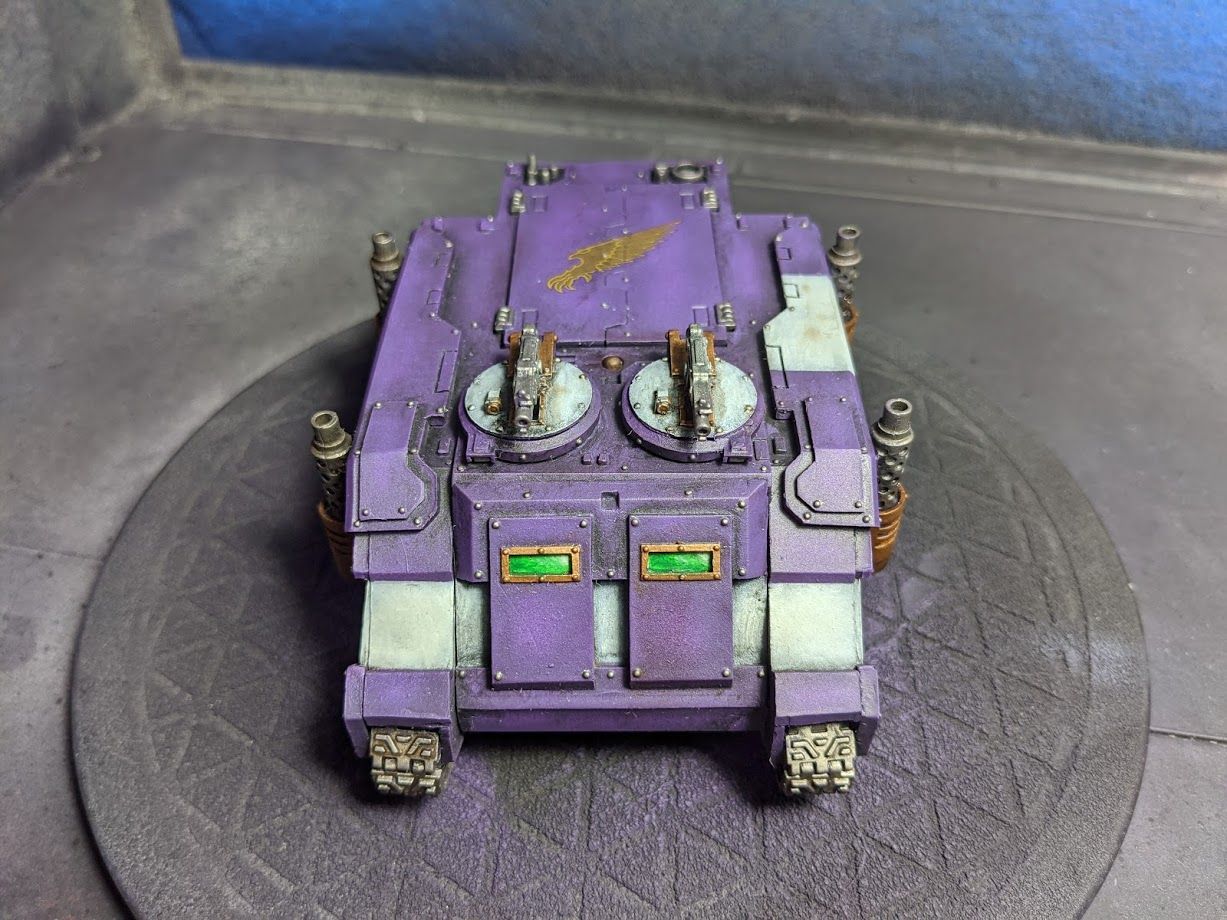
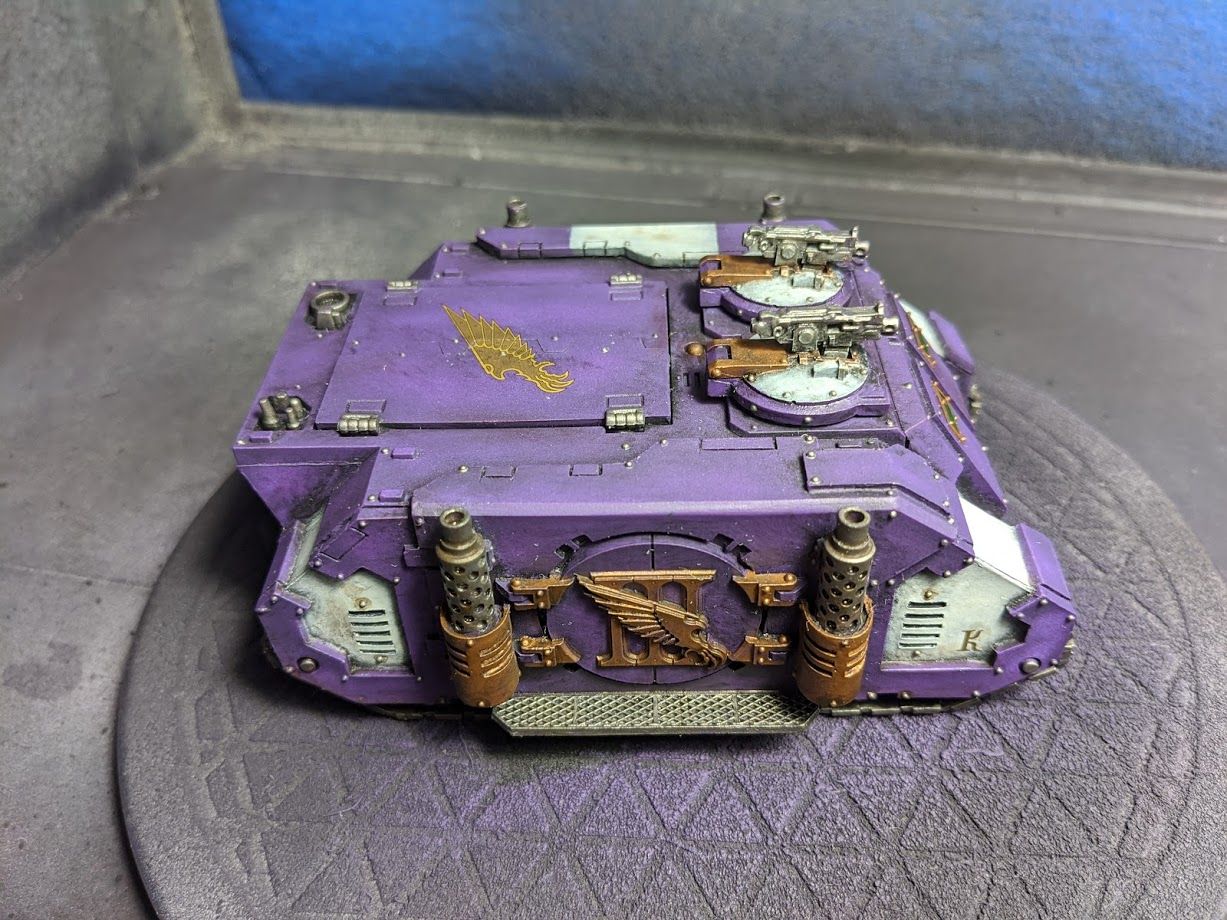
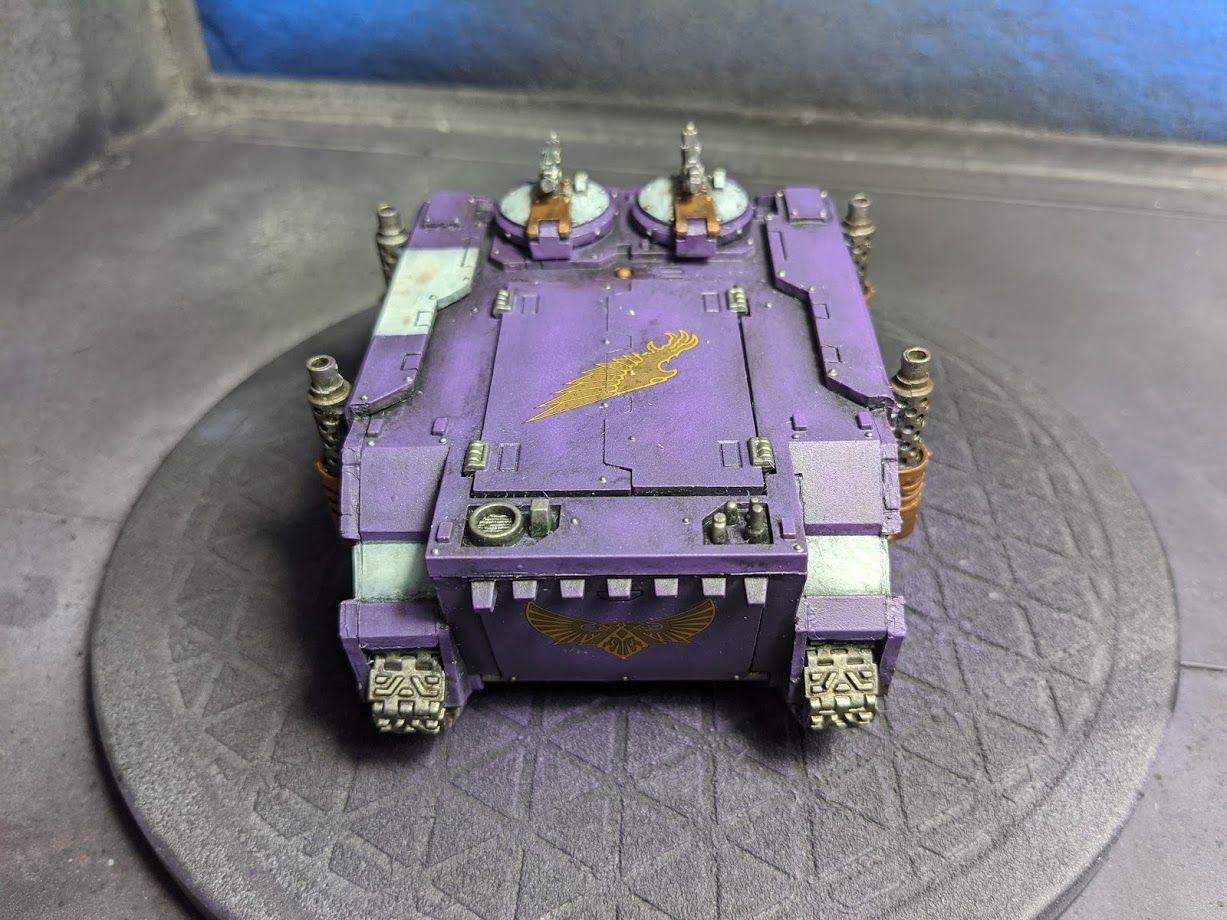
You can always do more detail work like painting scratches and highlighting the metallics more. You can also use pigments to add more dusty and dirty looks to areas. I find the extra level of effort required for that unnecessary for getting this army on the table right now. You can always touch up small details later.
Hope you enjoyed reading and happy painting!
Comments ()